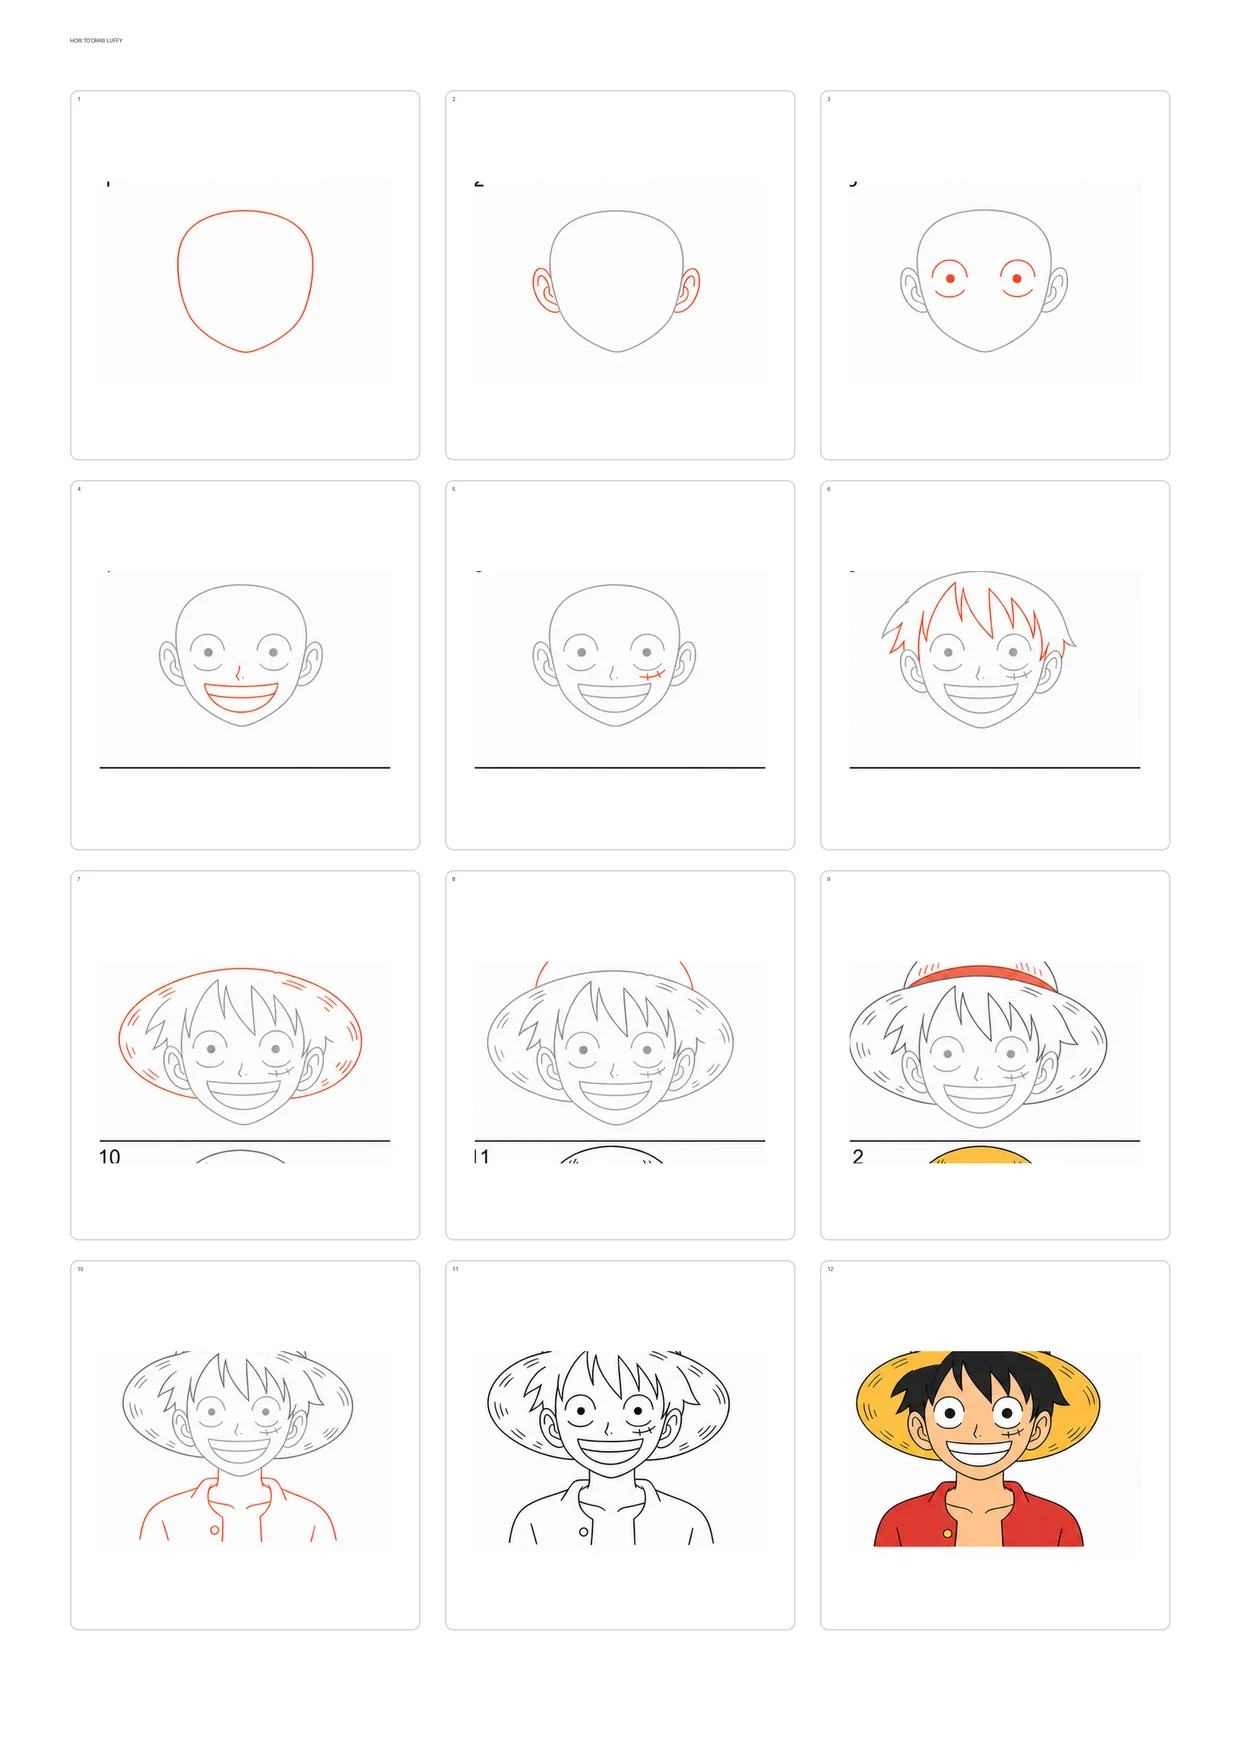
How to Draw Luffy: Easy Step-by-Step Tutorial, One Frame at a Time
Older lines stay soft gray. The newest line in each frame shows in coral, so you always know what's new.

Draw the face shape
Draw one rounded face outline with a softly pointed chin.
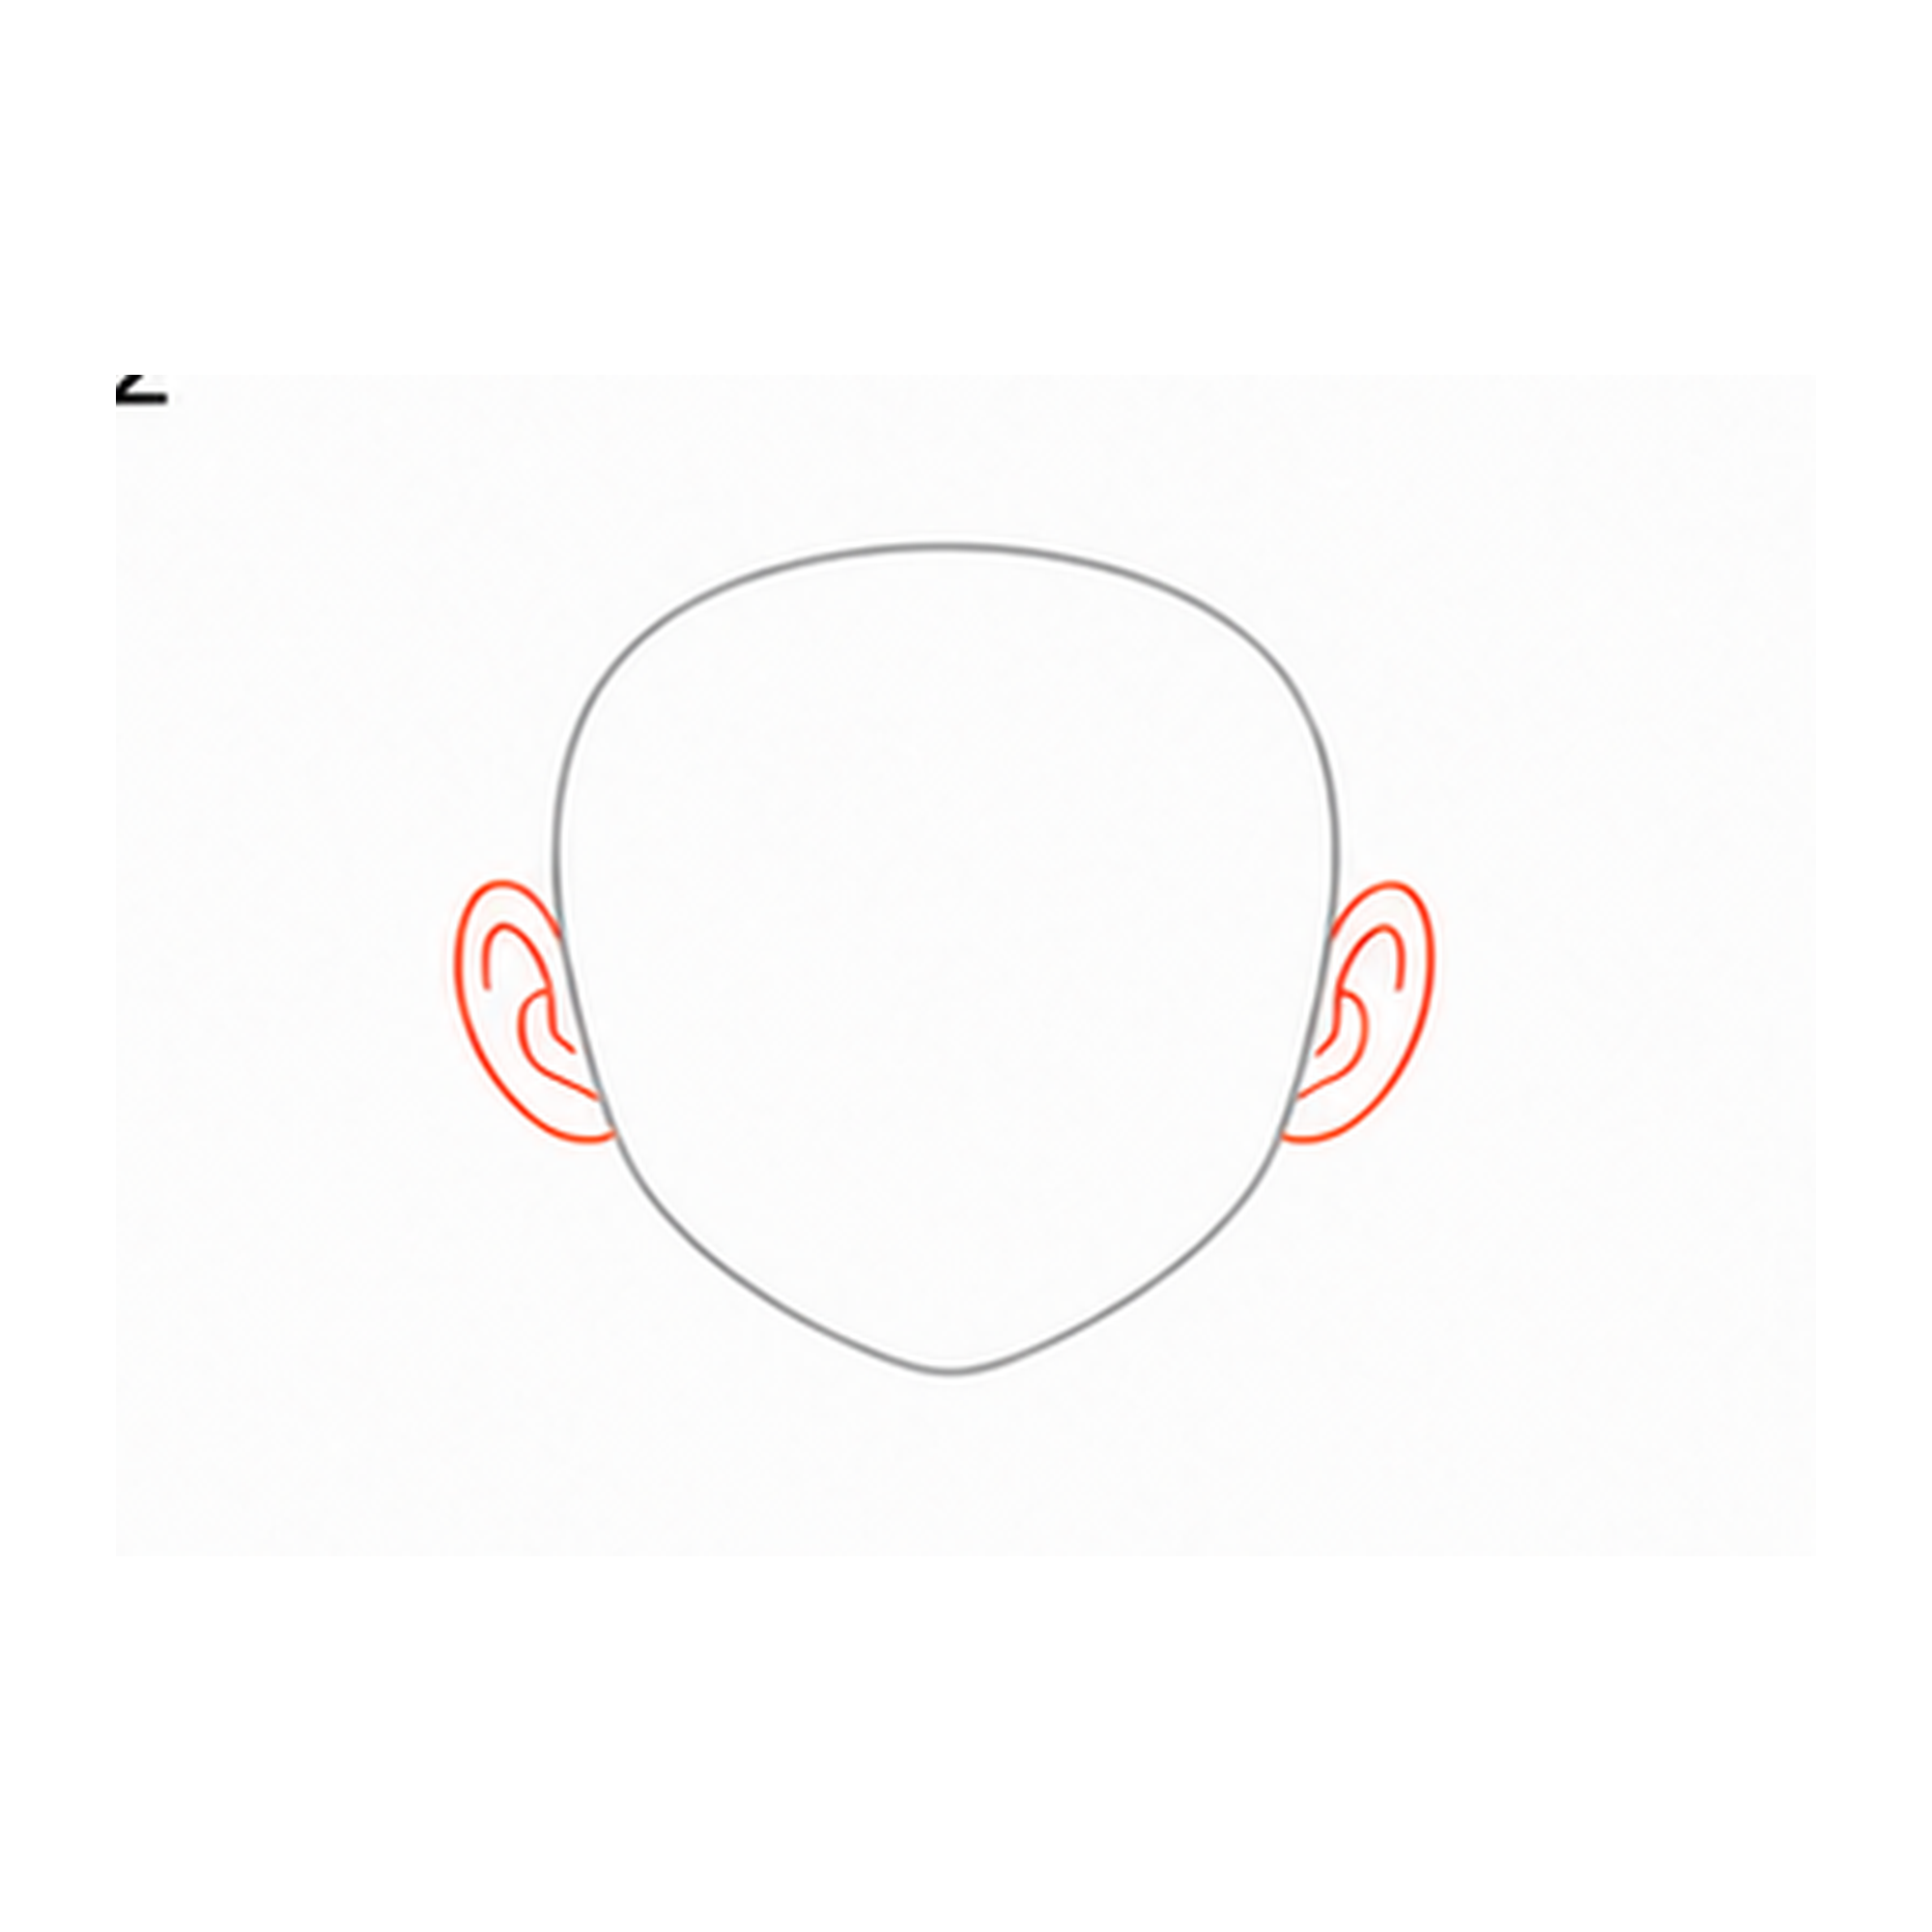
Add the ears
Draw one simple ear on each side of the face.
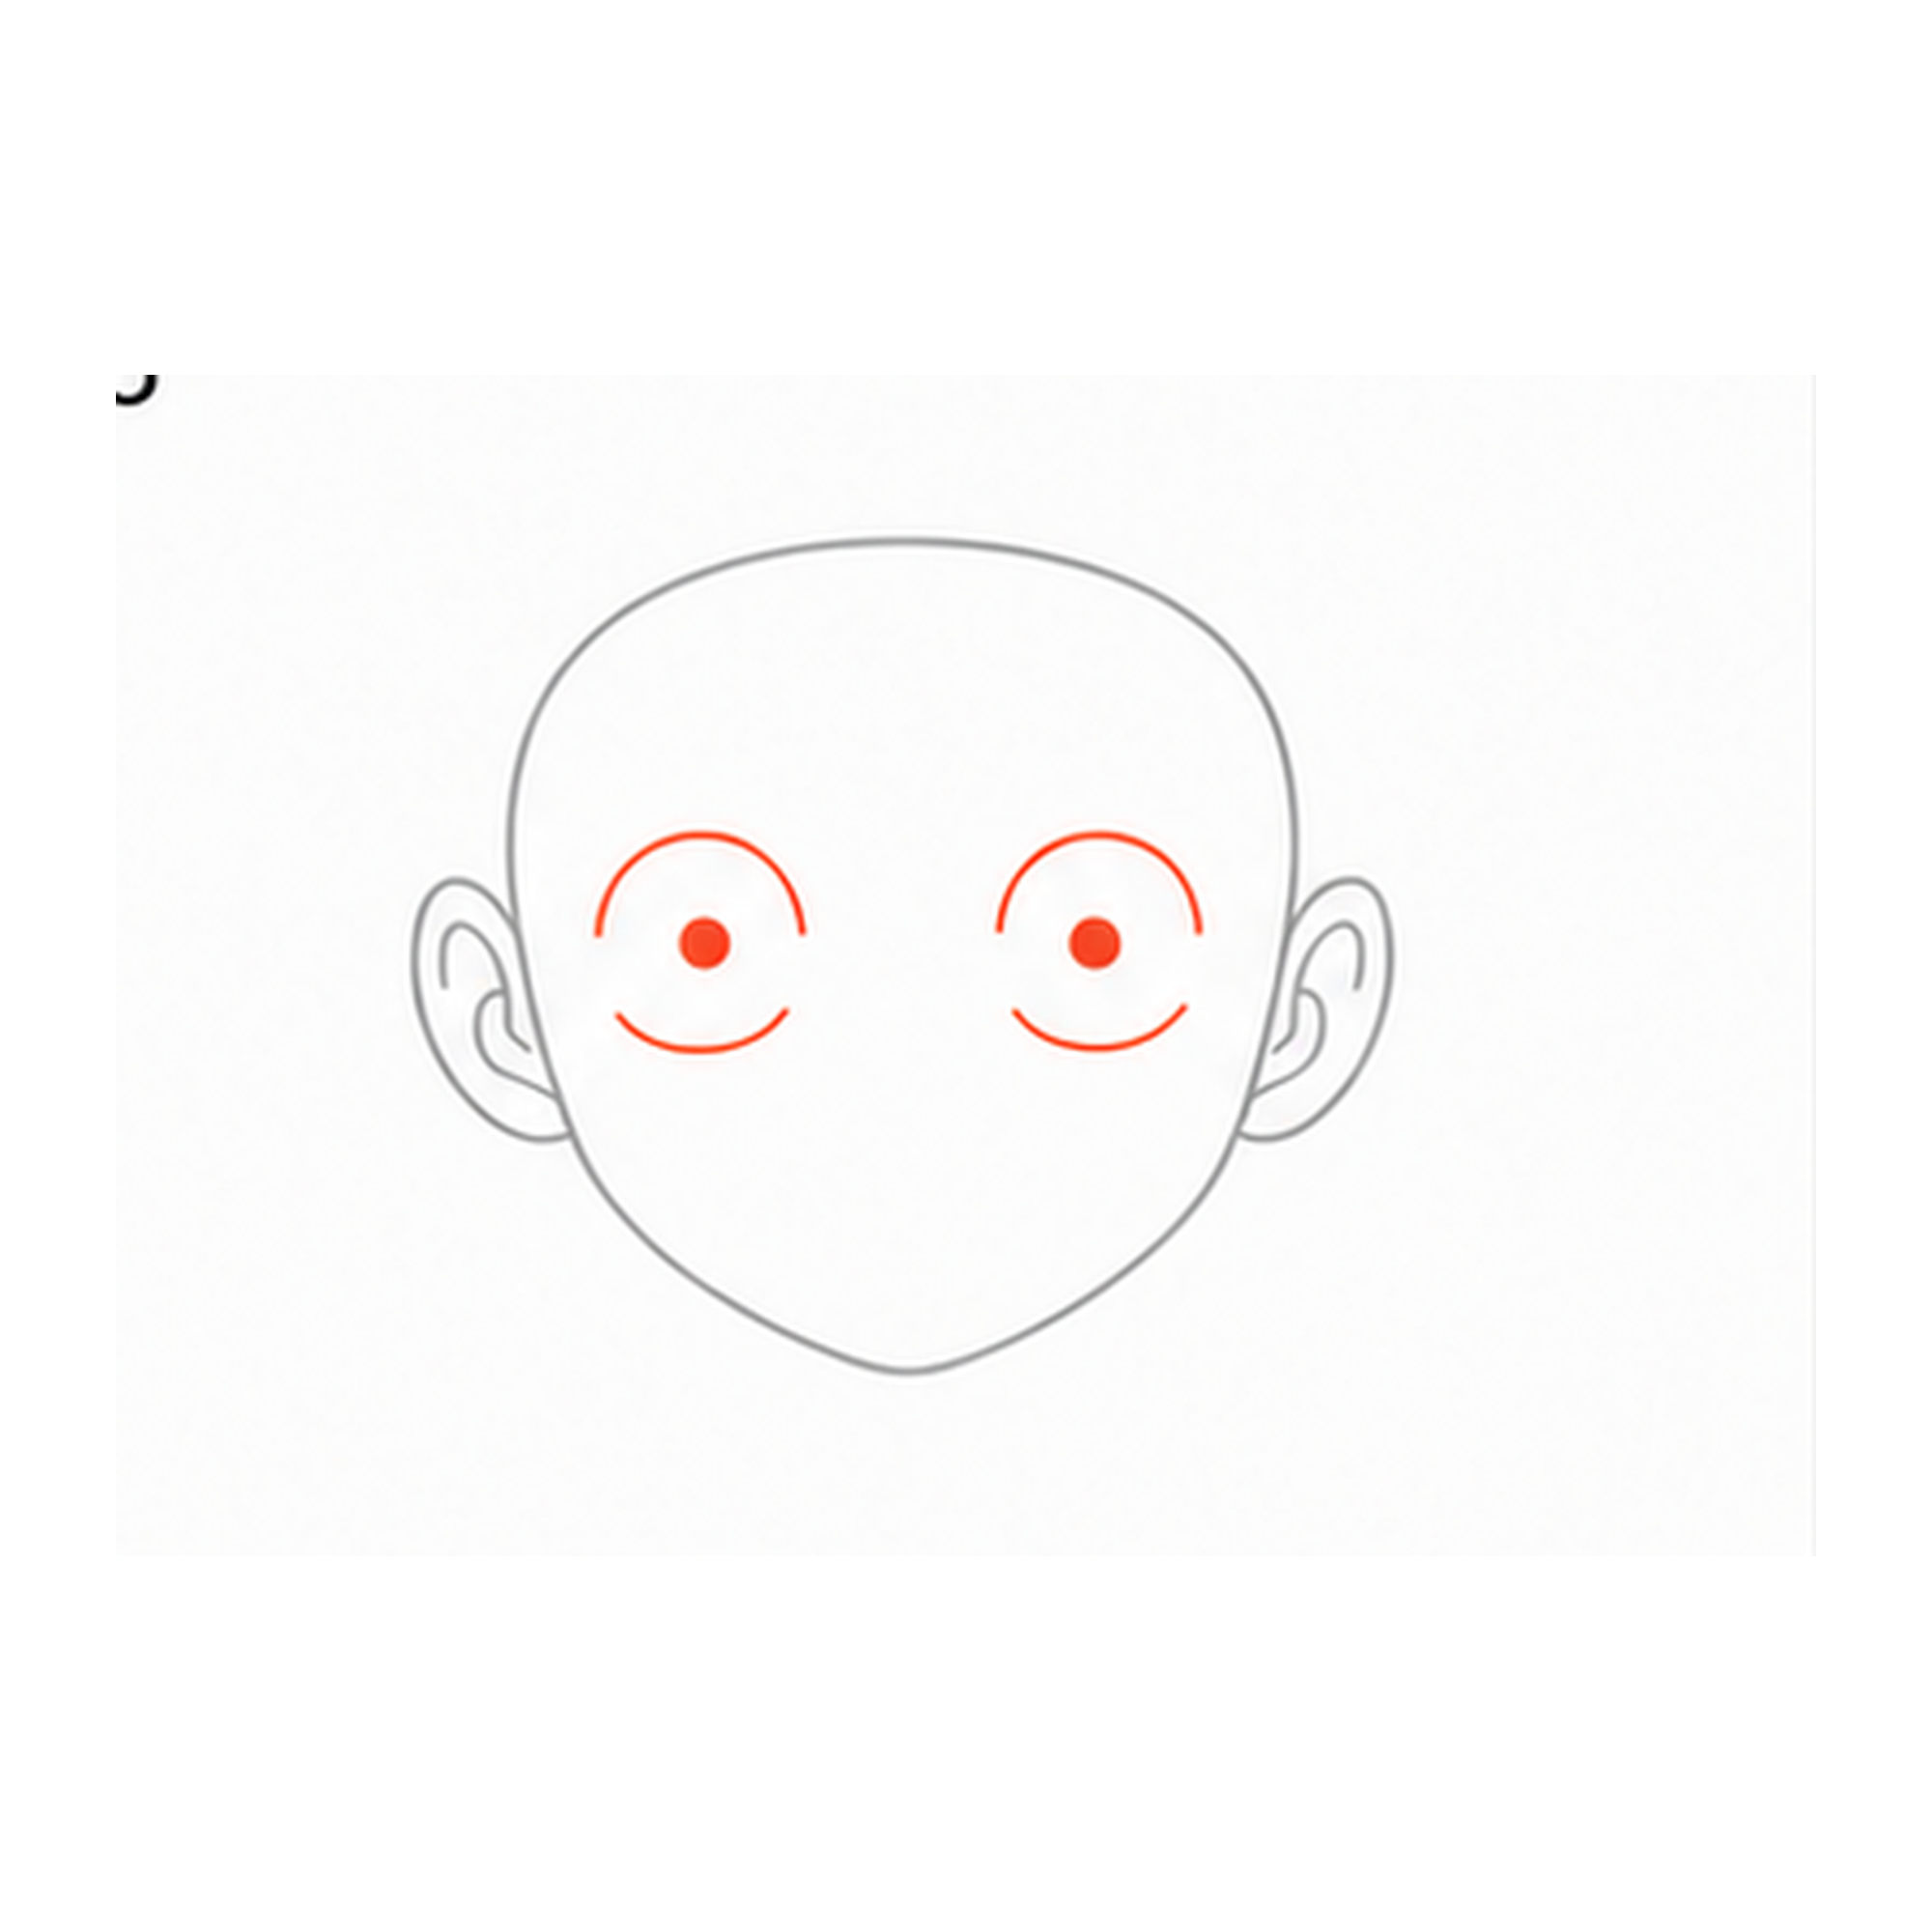
Draw the eyes
Add two large round anime eyes with small pupils.
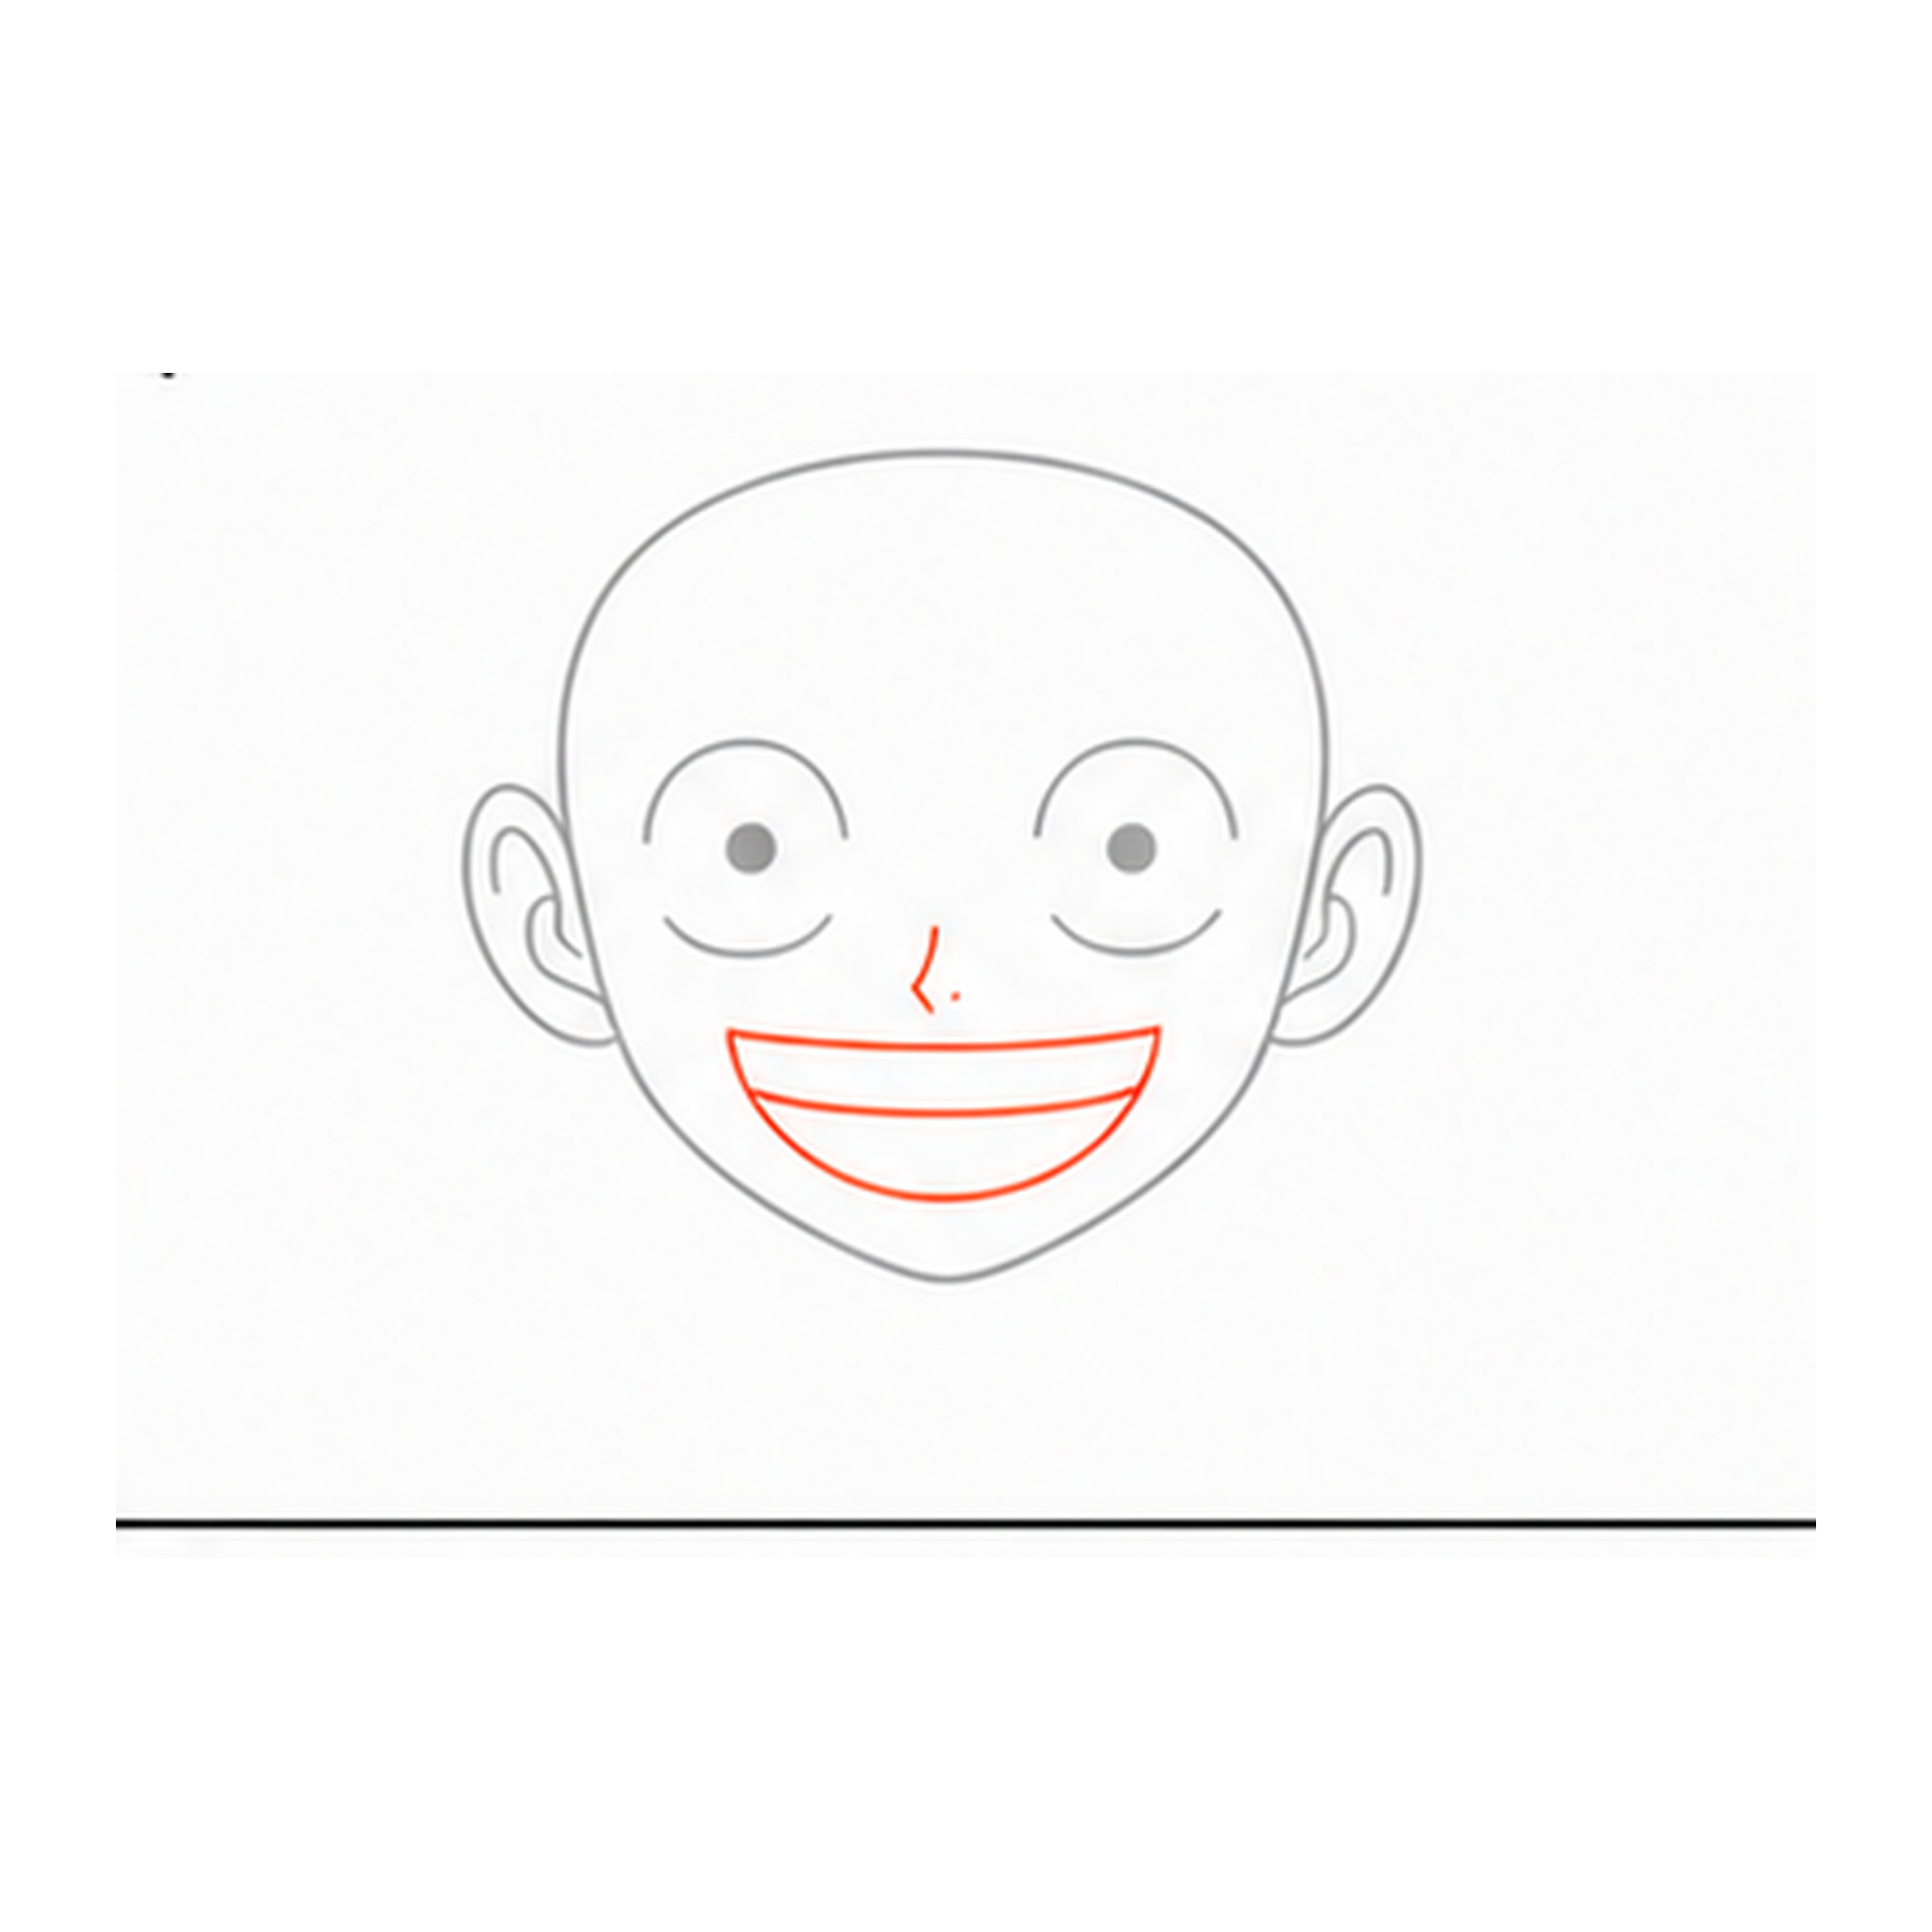
Add the nose and smile
Draw the tiny nose and a wide open smiling mouth.
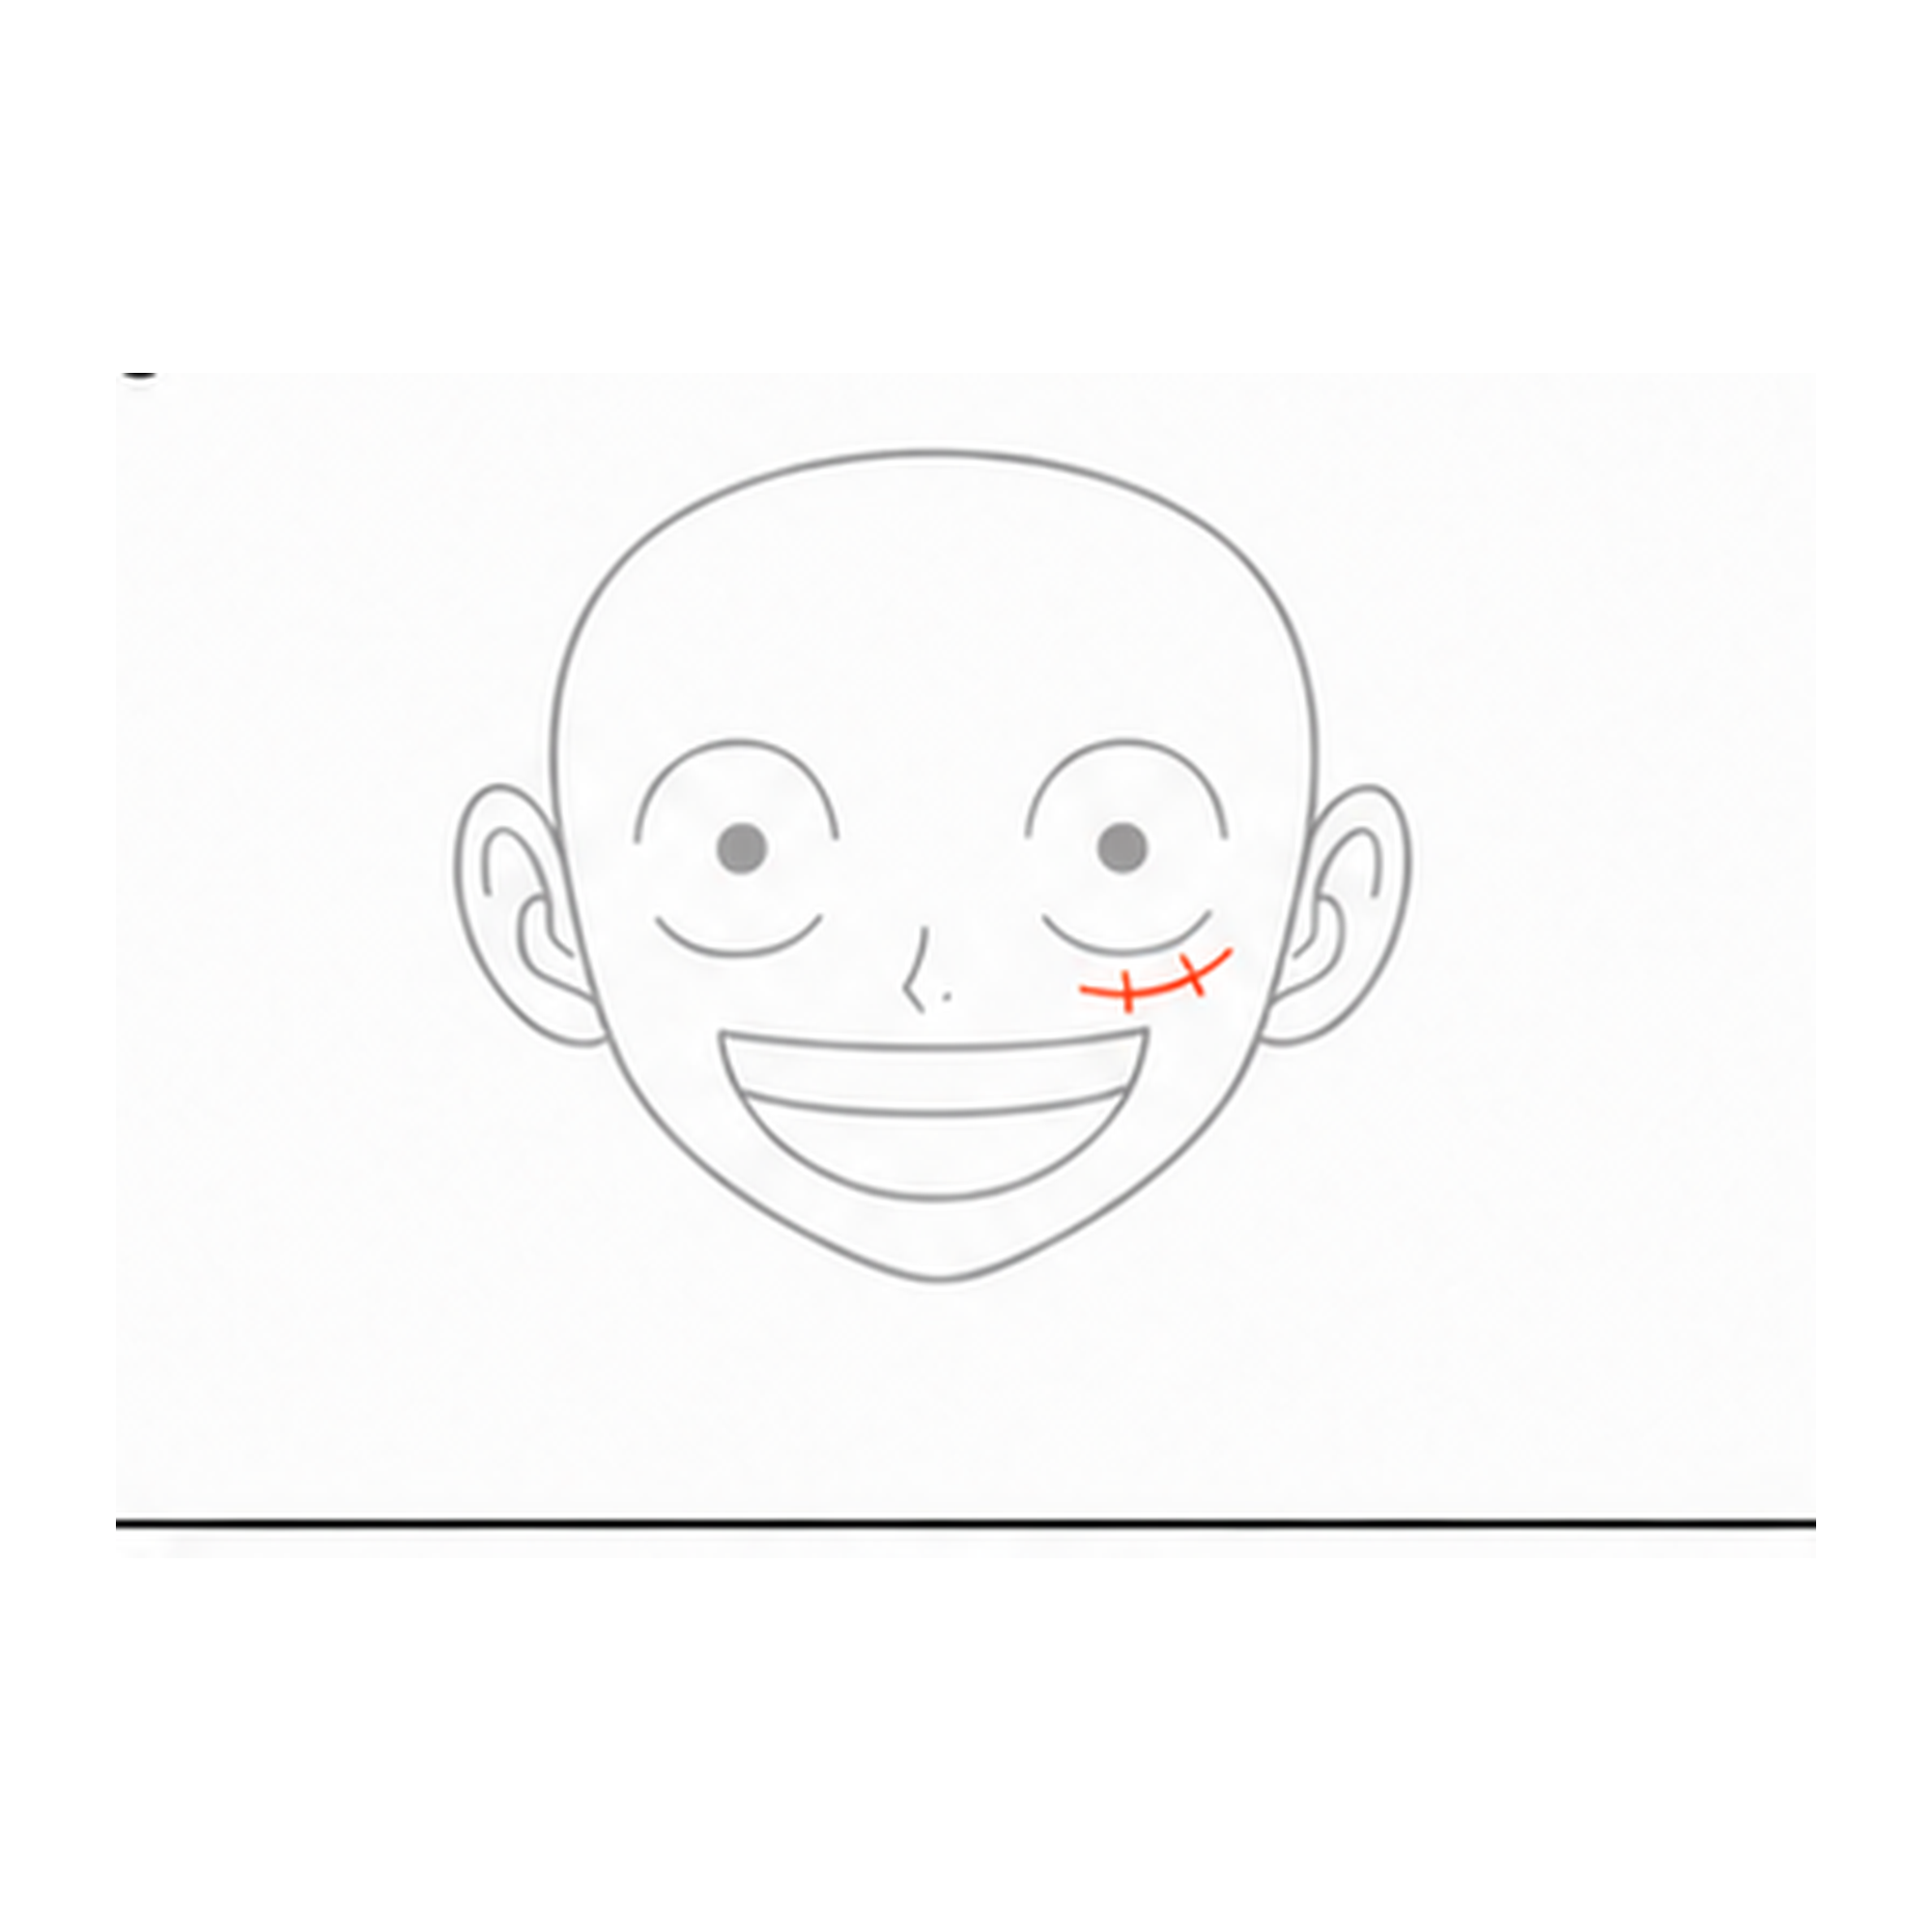
Add the eye scar
Draw the small curved scar beneath the left eye.
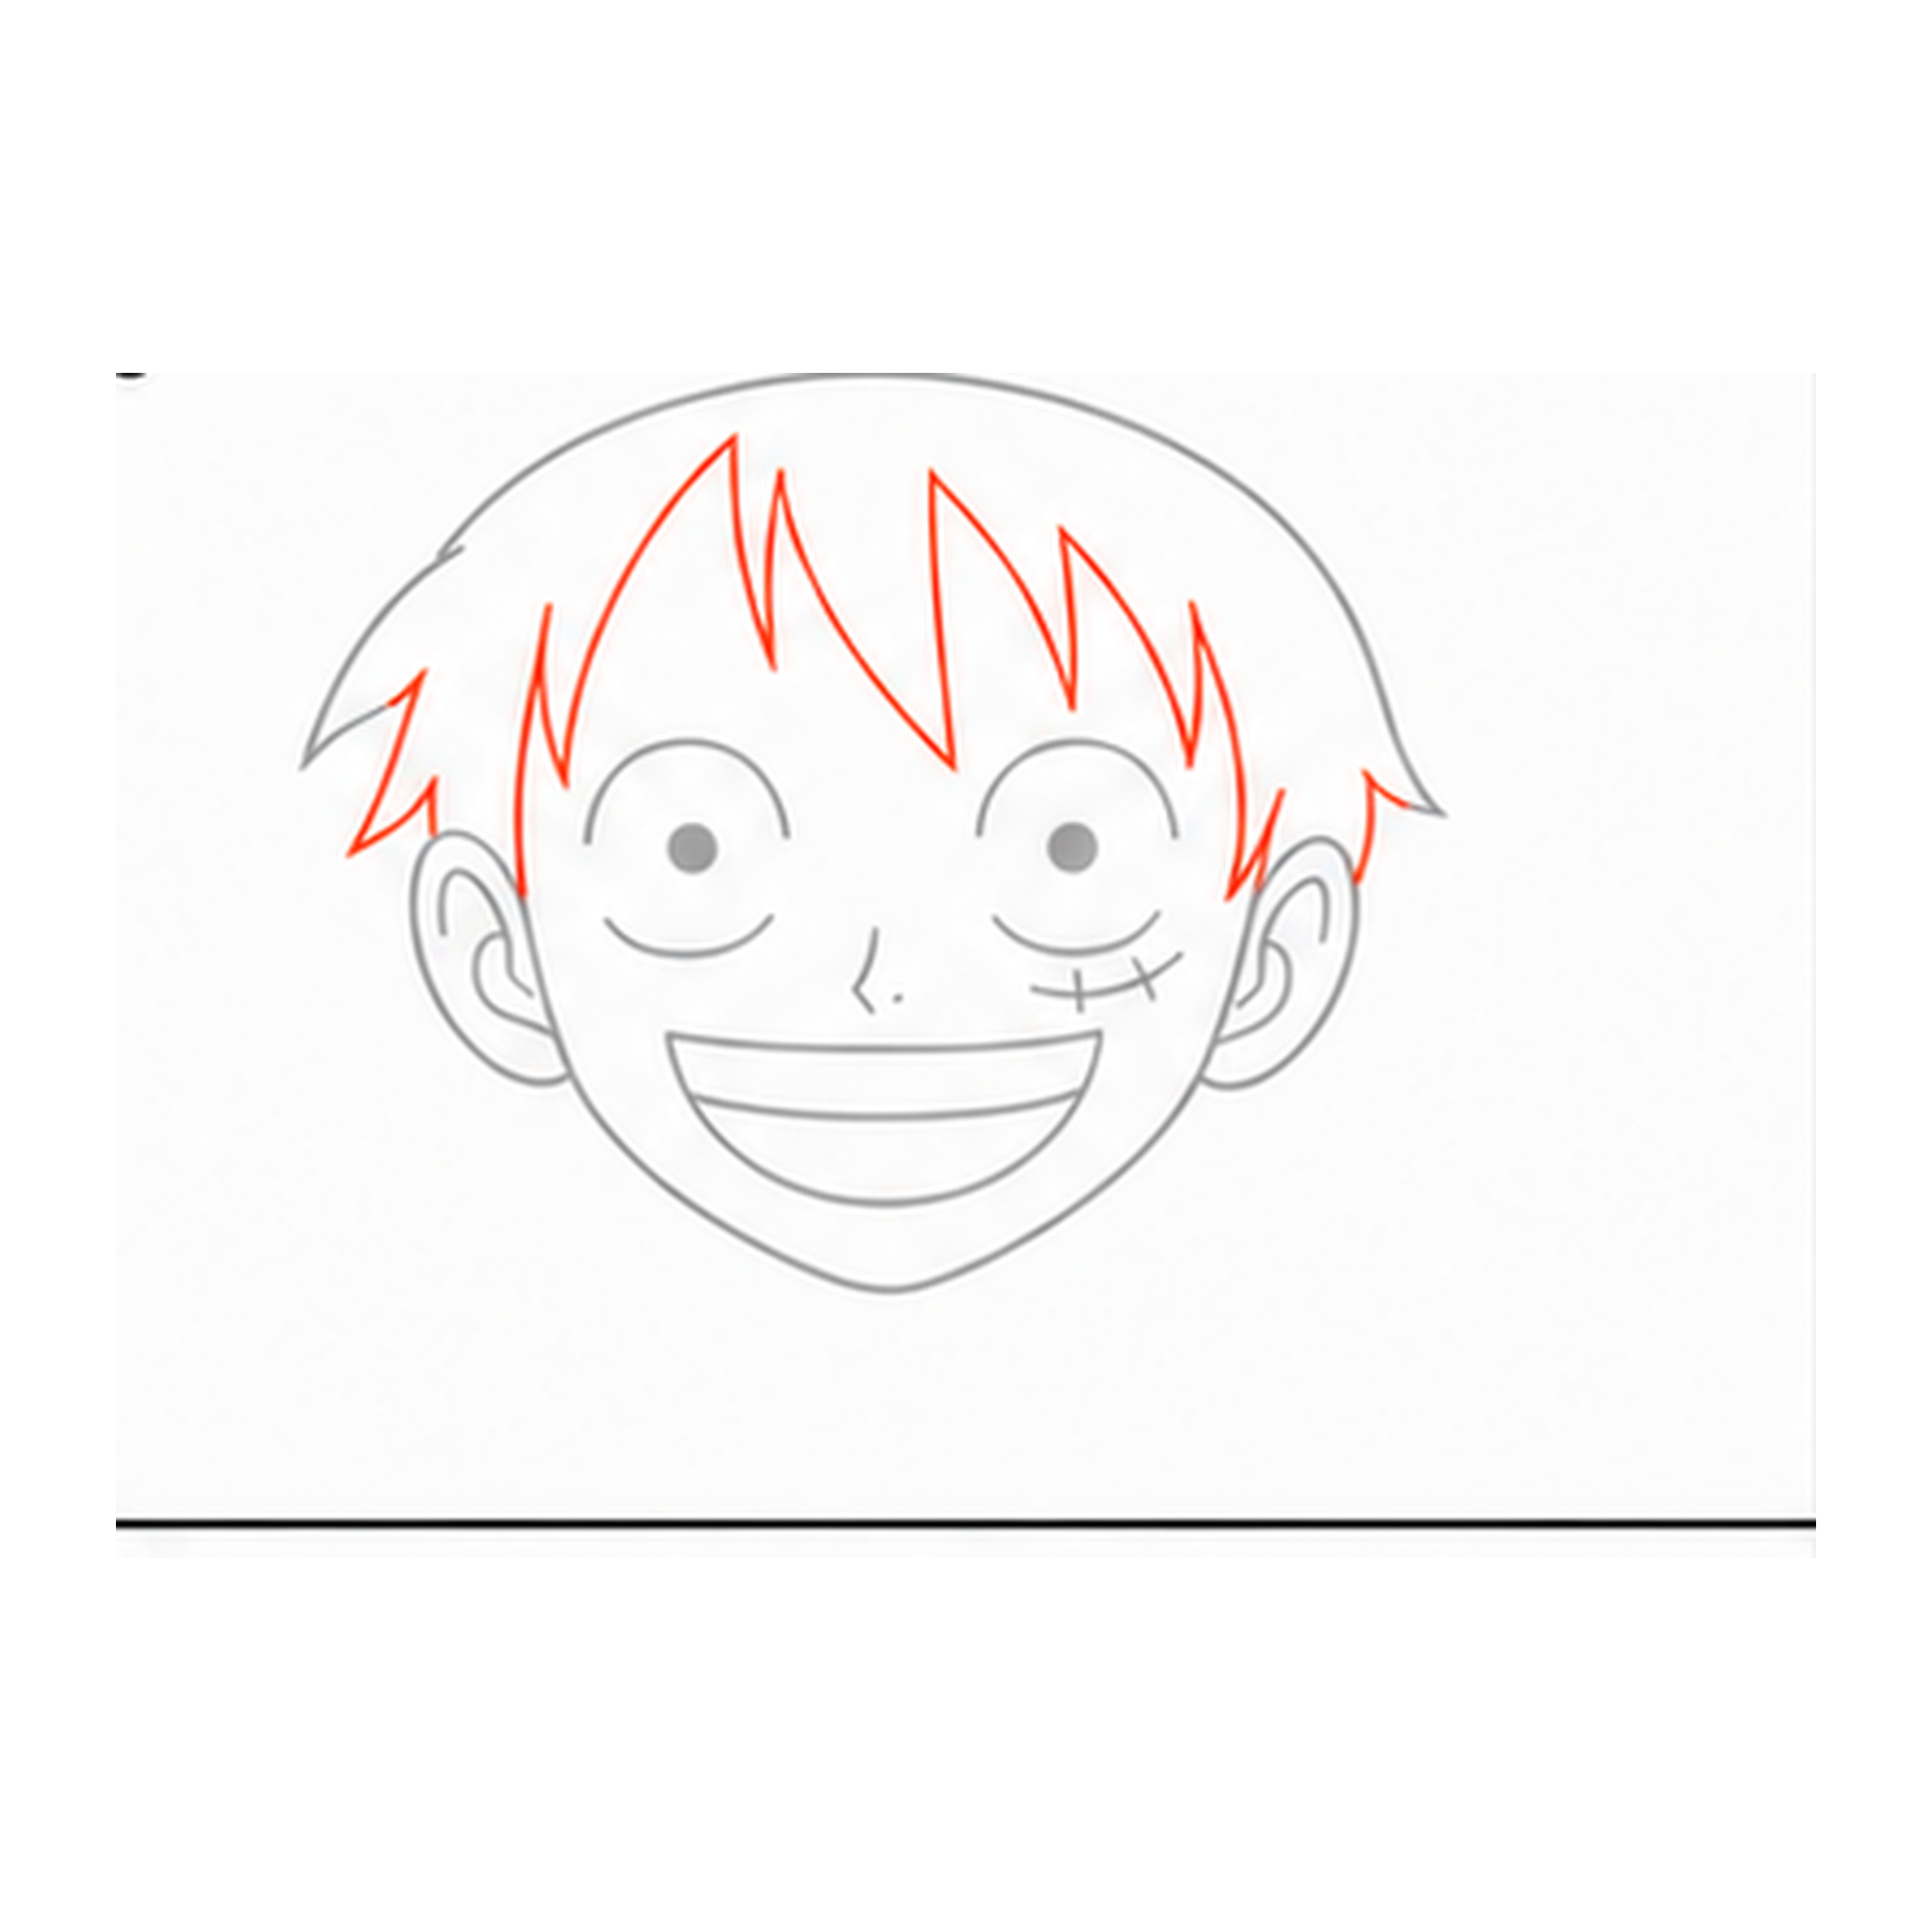
Draw the hair
Add the short messy hair fringe across the forehead.
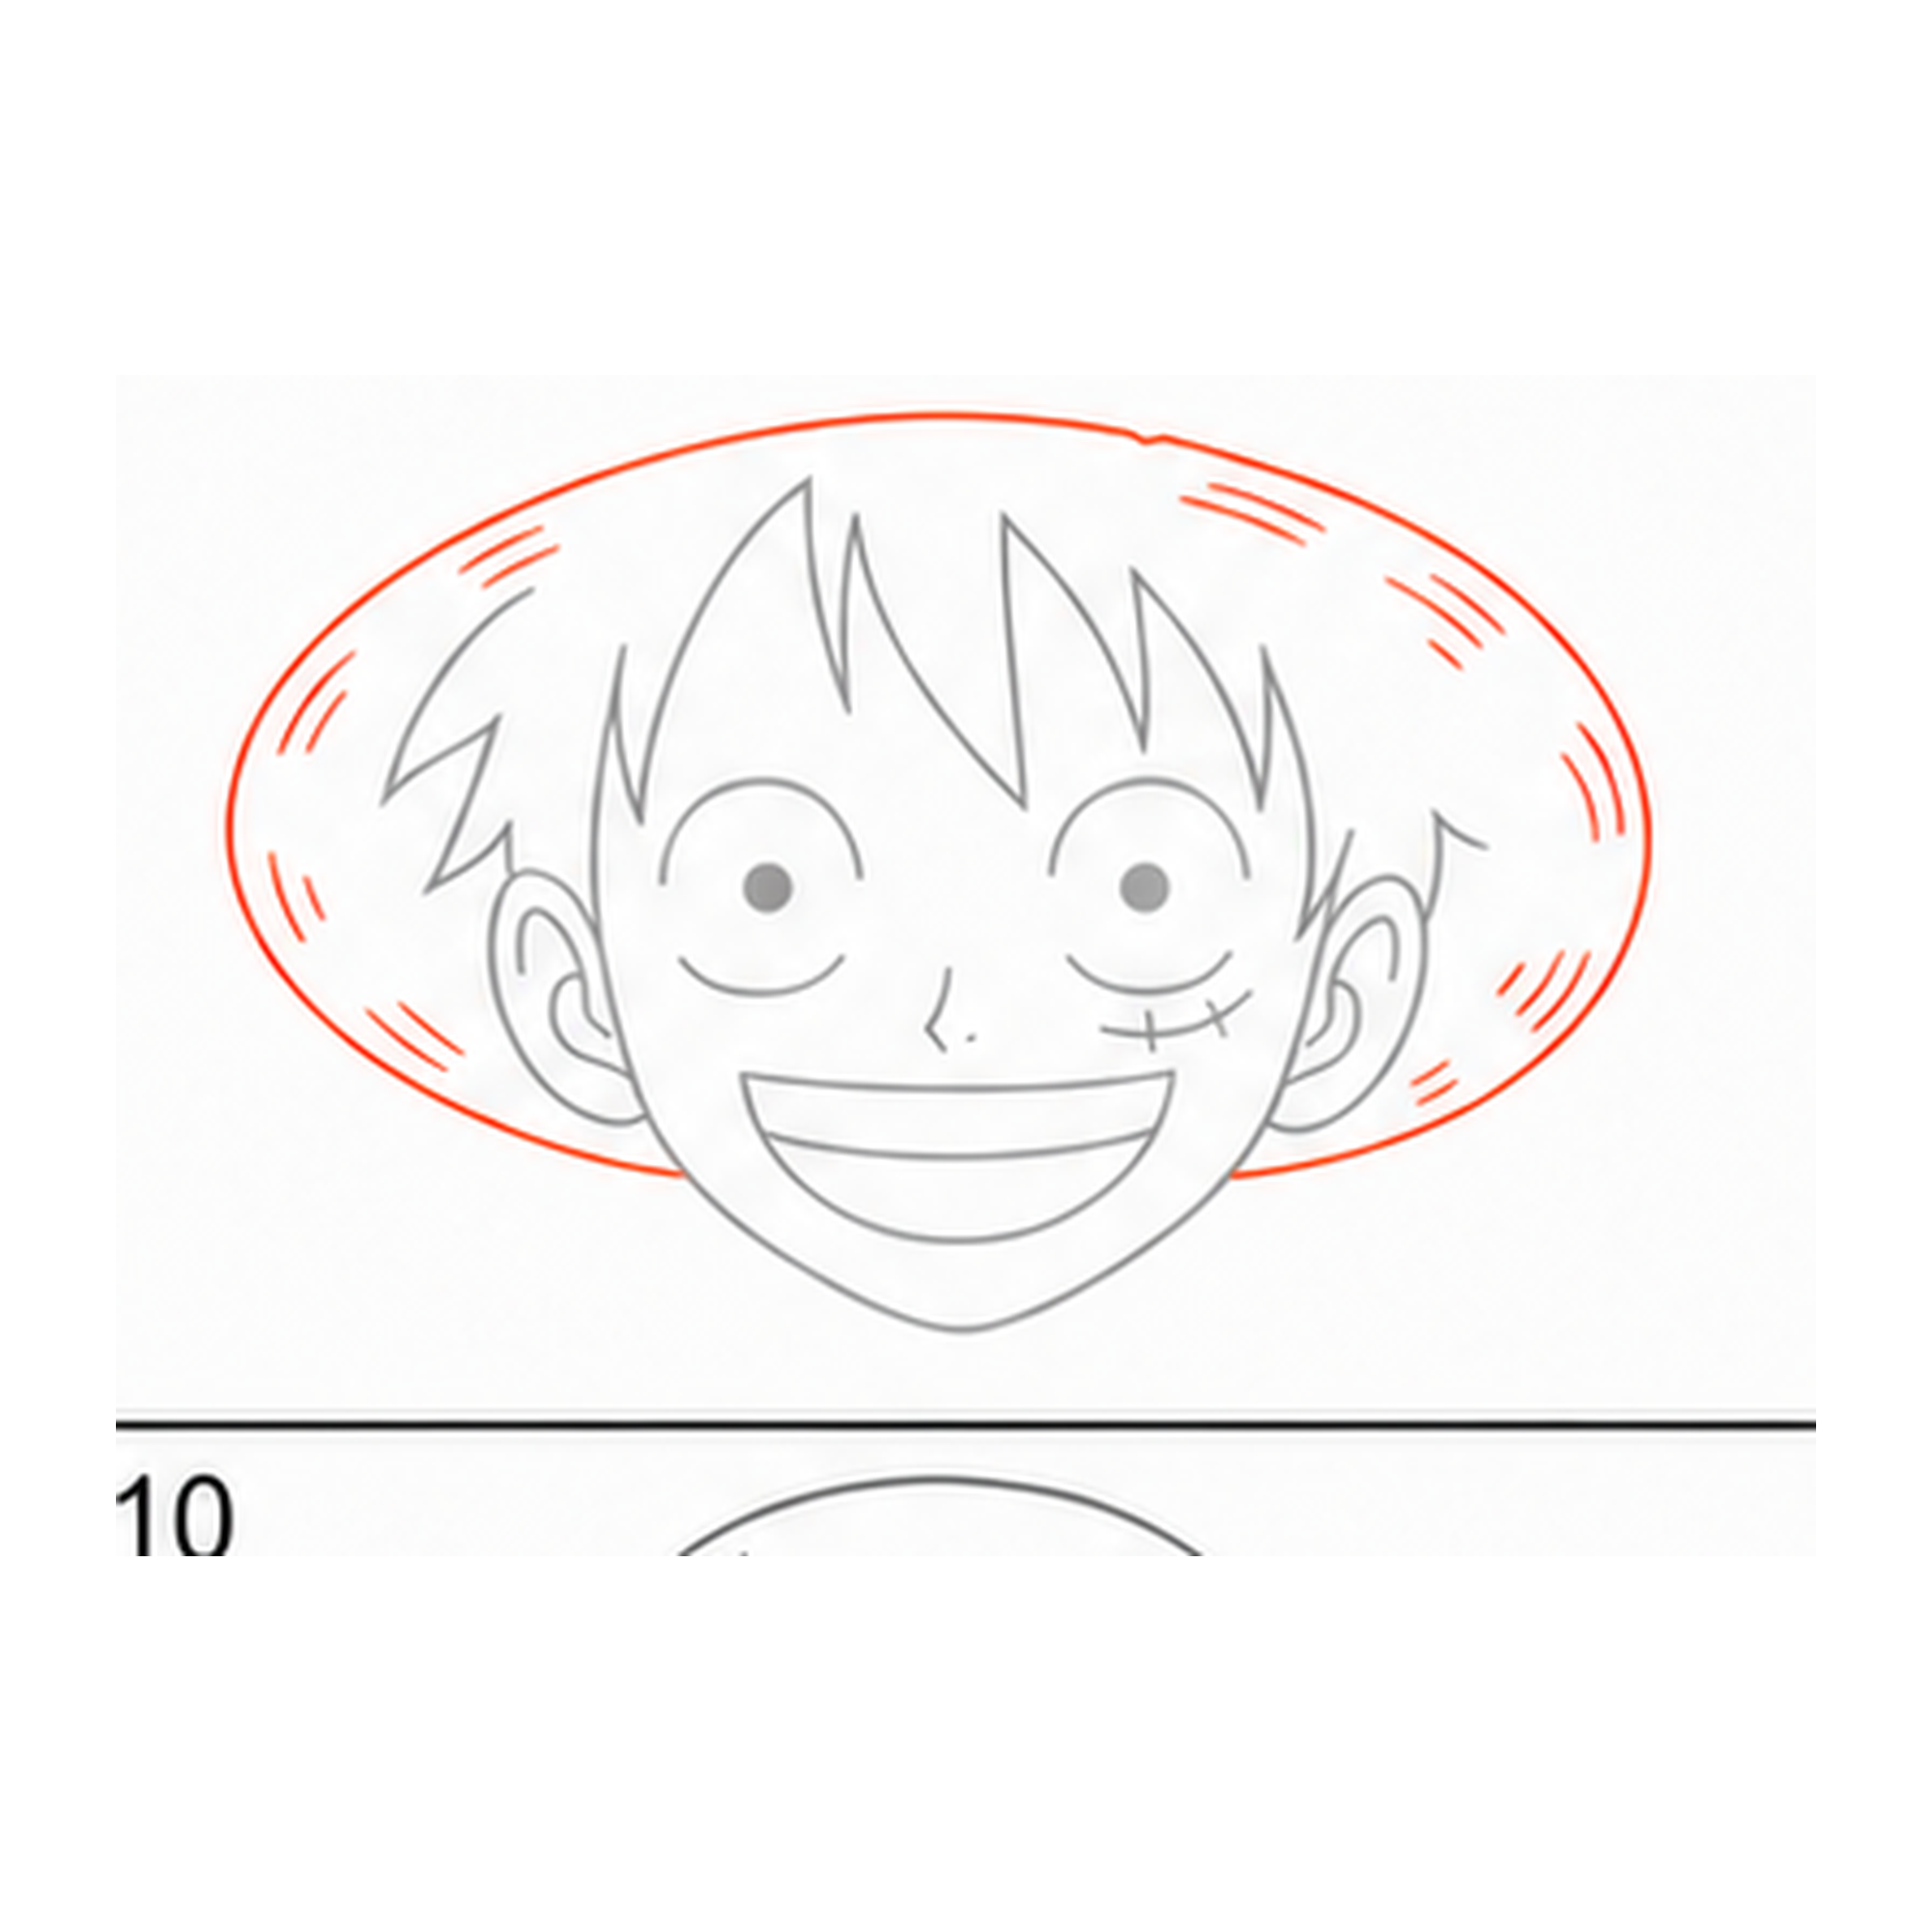
Draw the hat brim
Add the wide curved straw-hat brim behind the head with short woven marks.
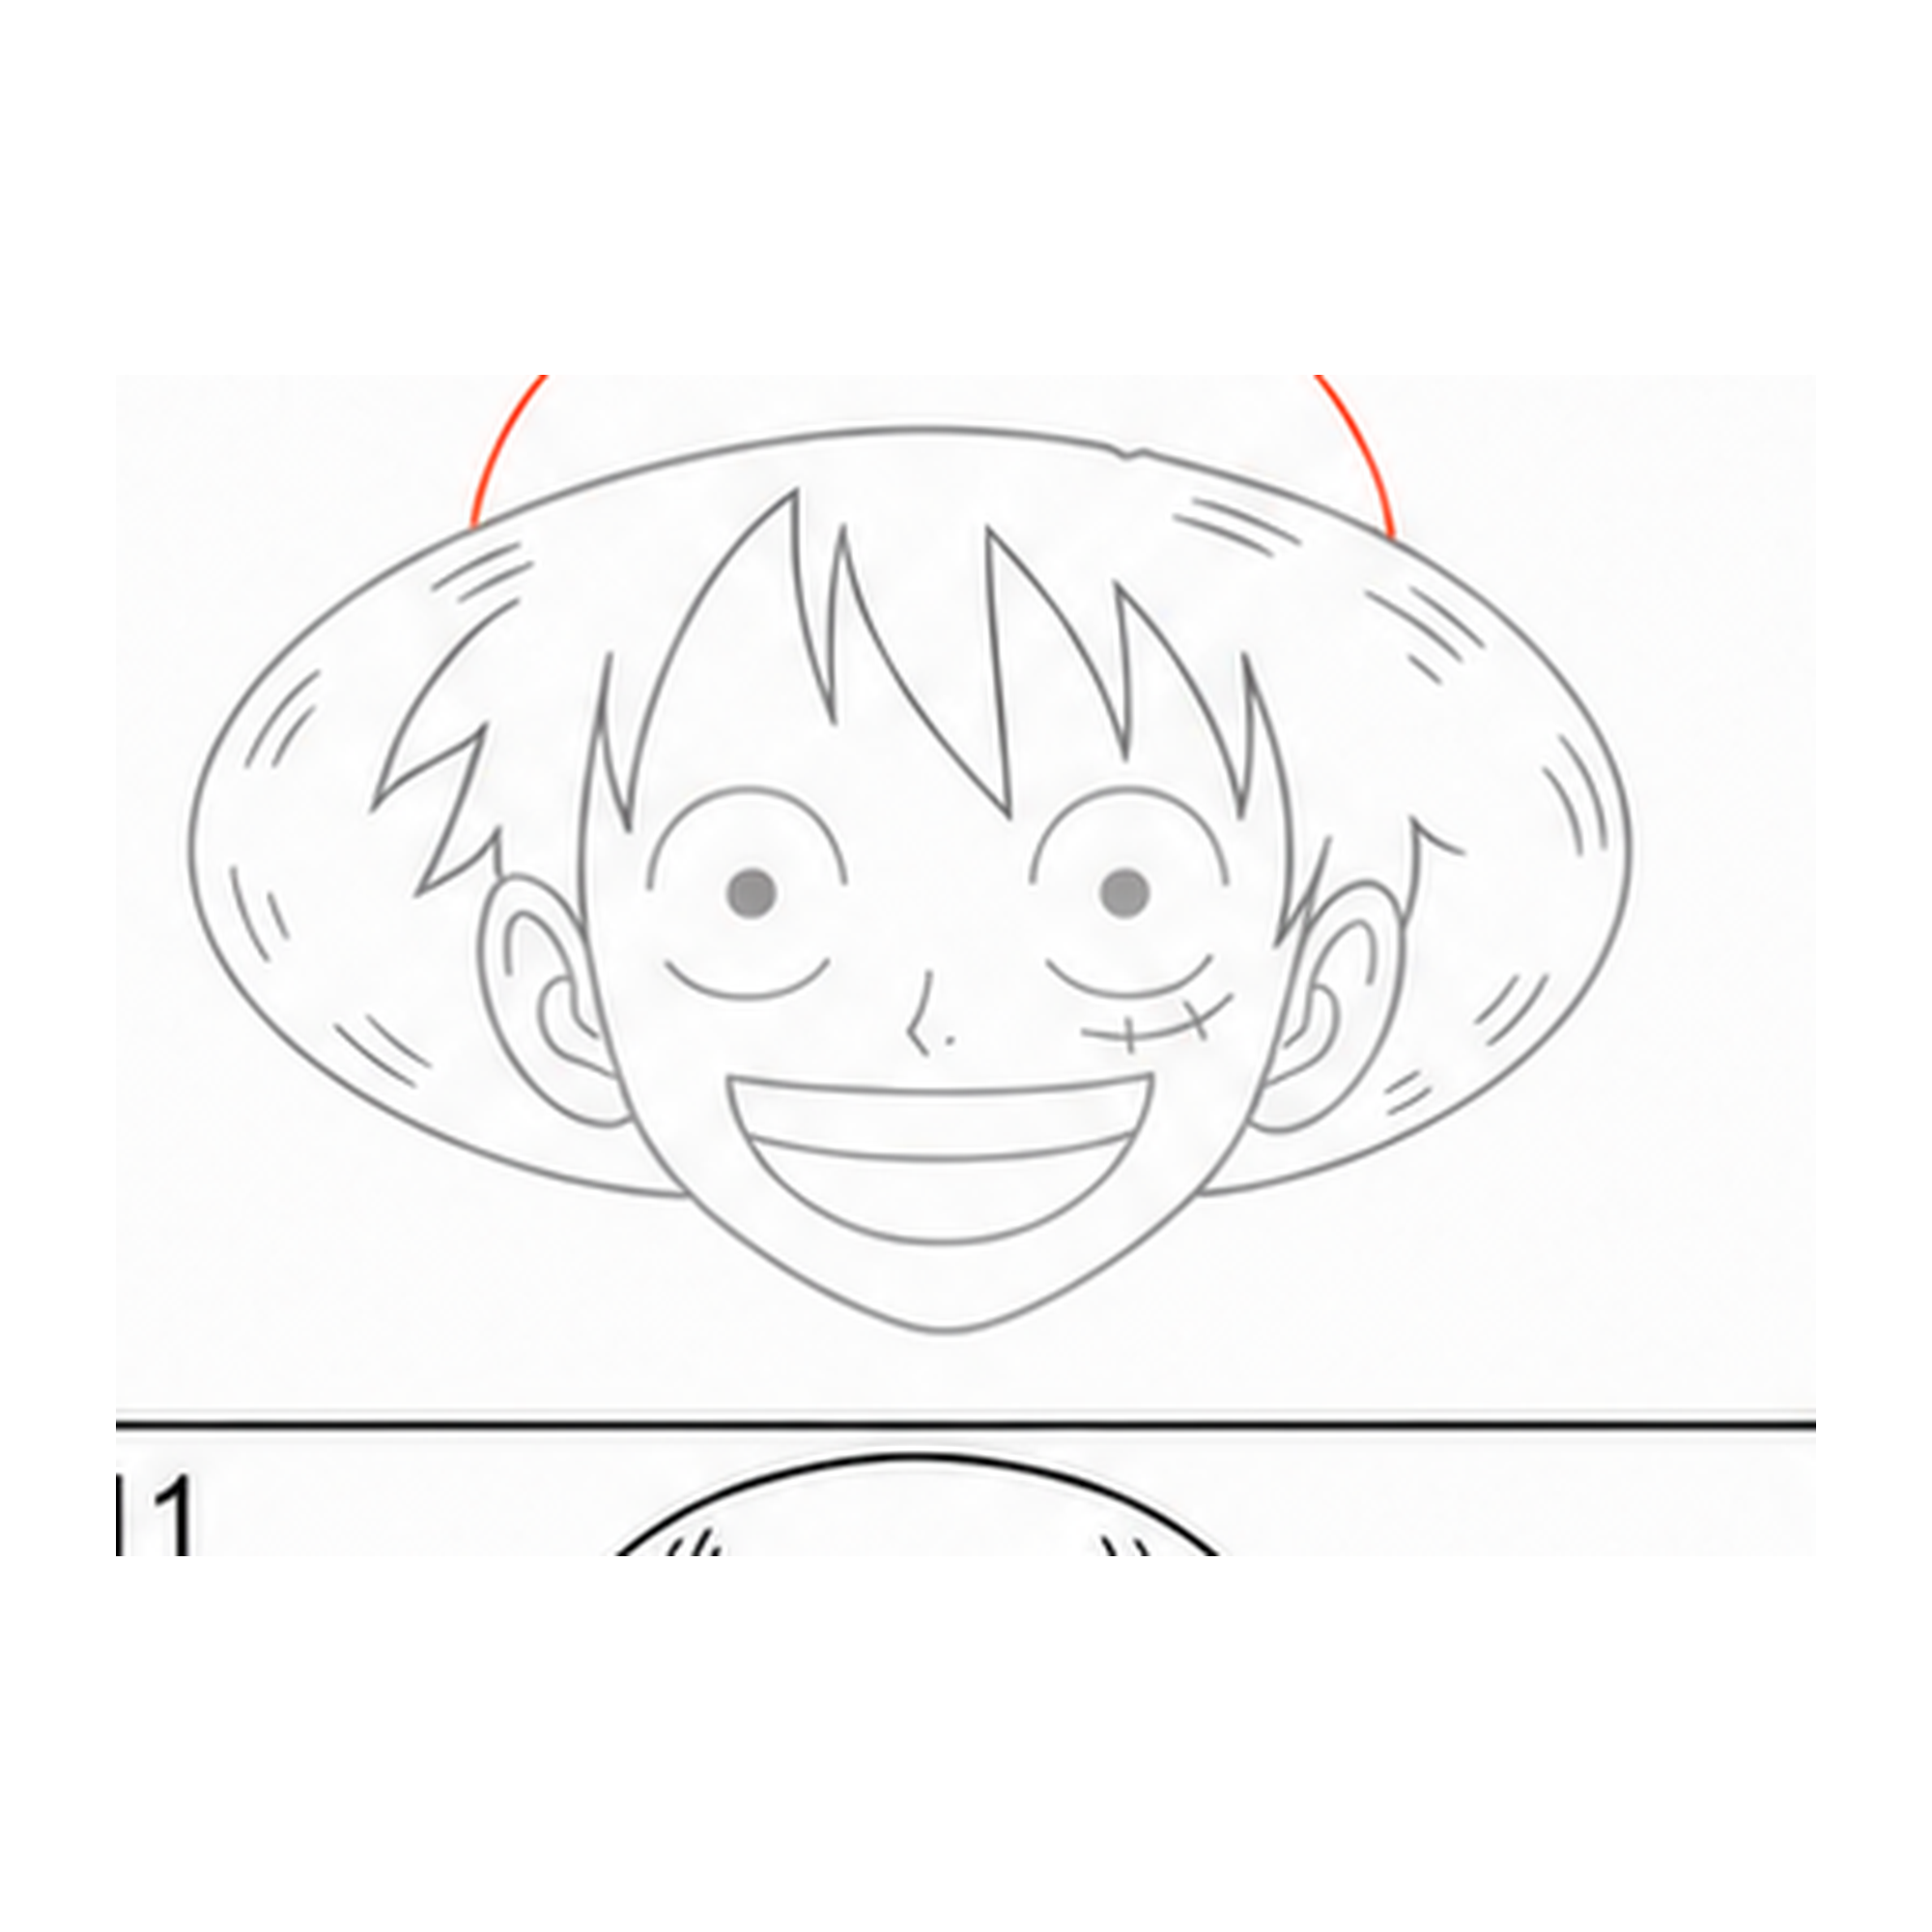
Add the hat crown
Draw the rounded crown of the straw hat above the brim.
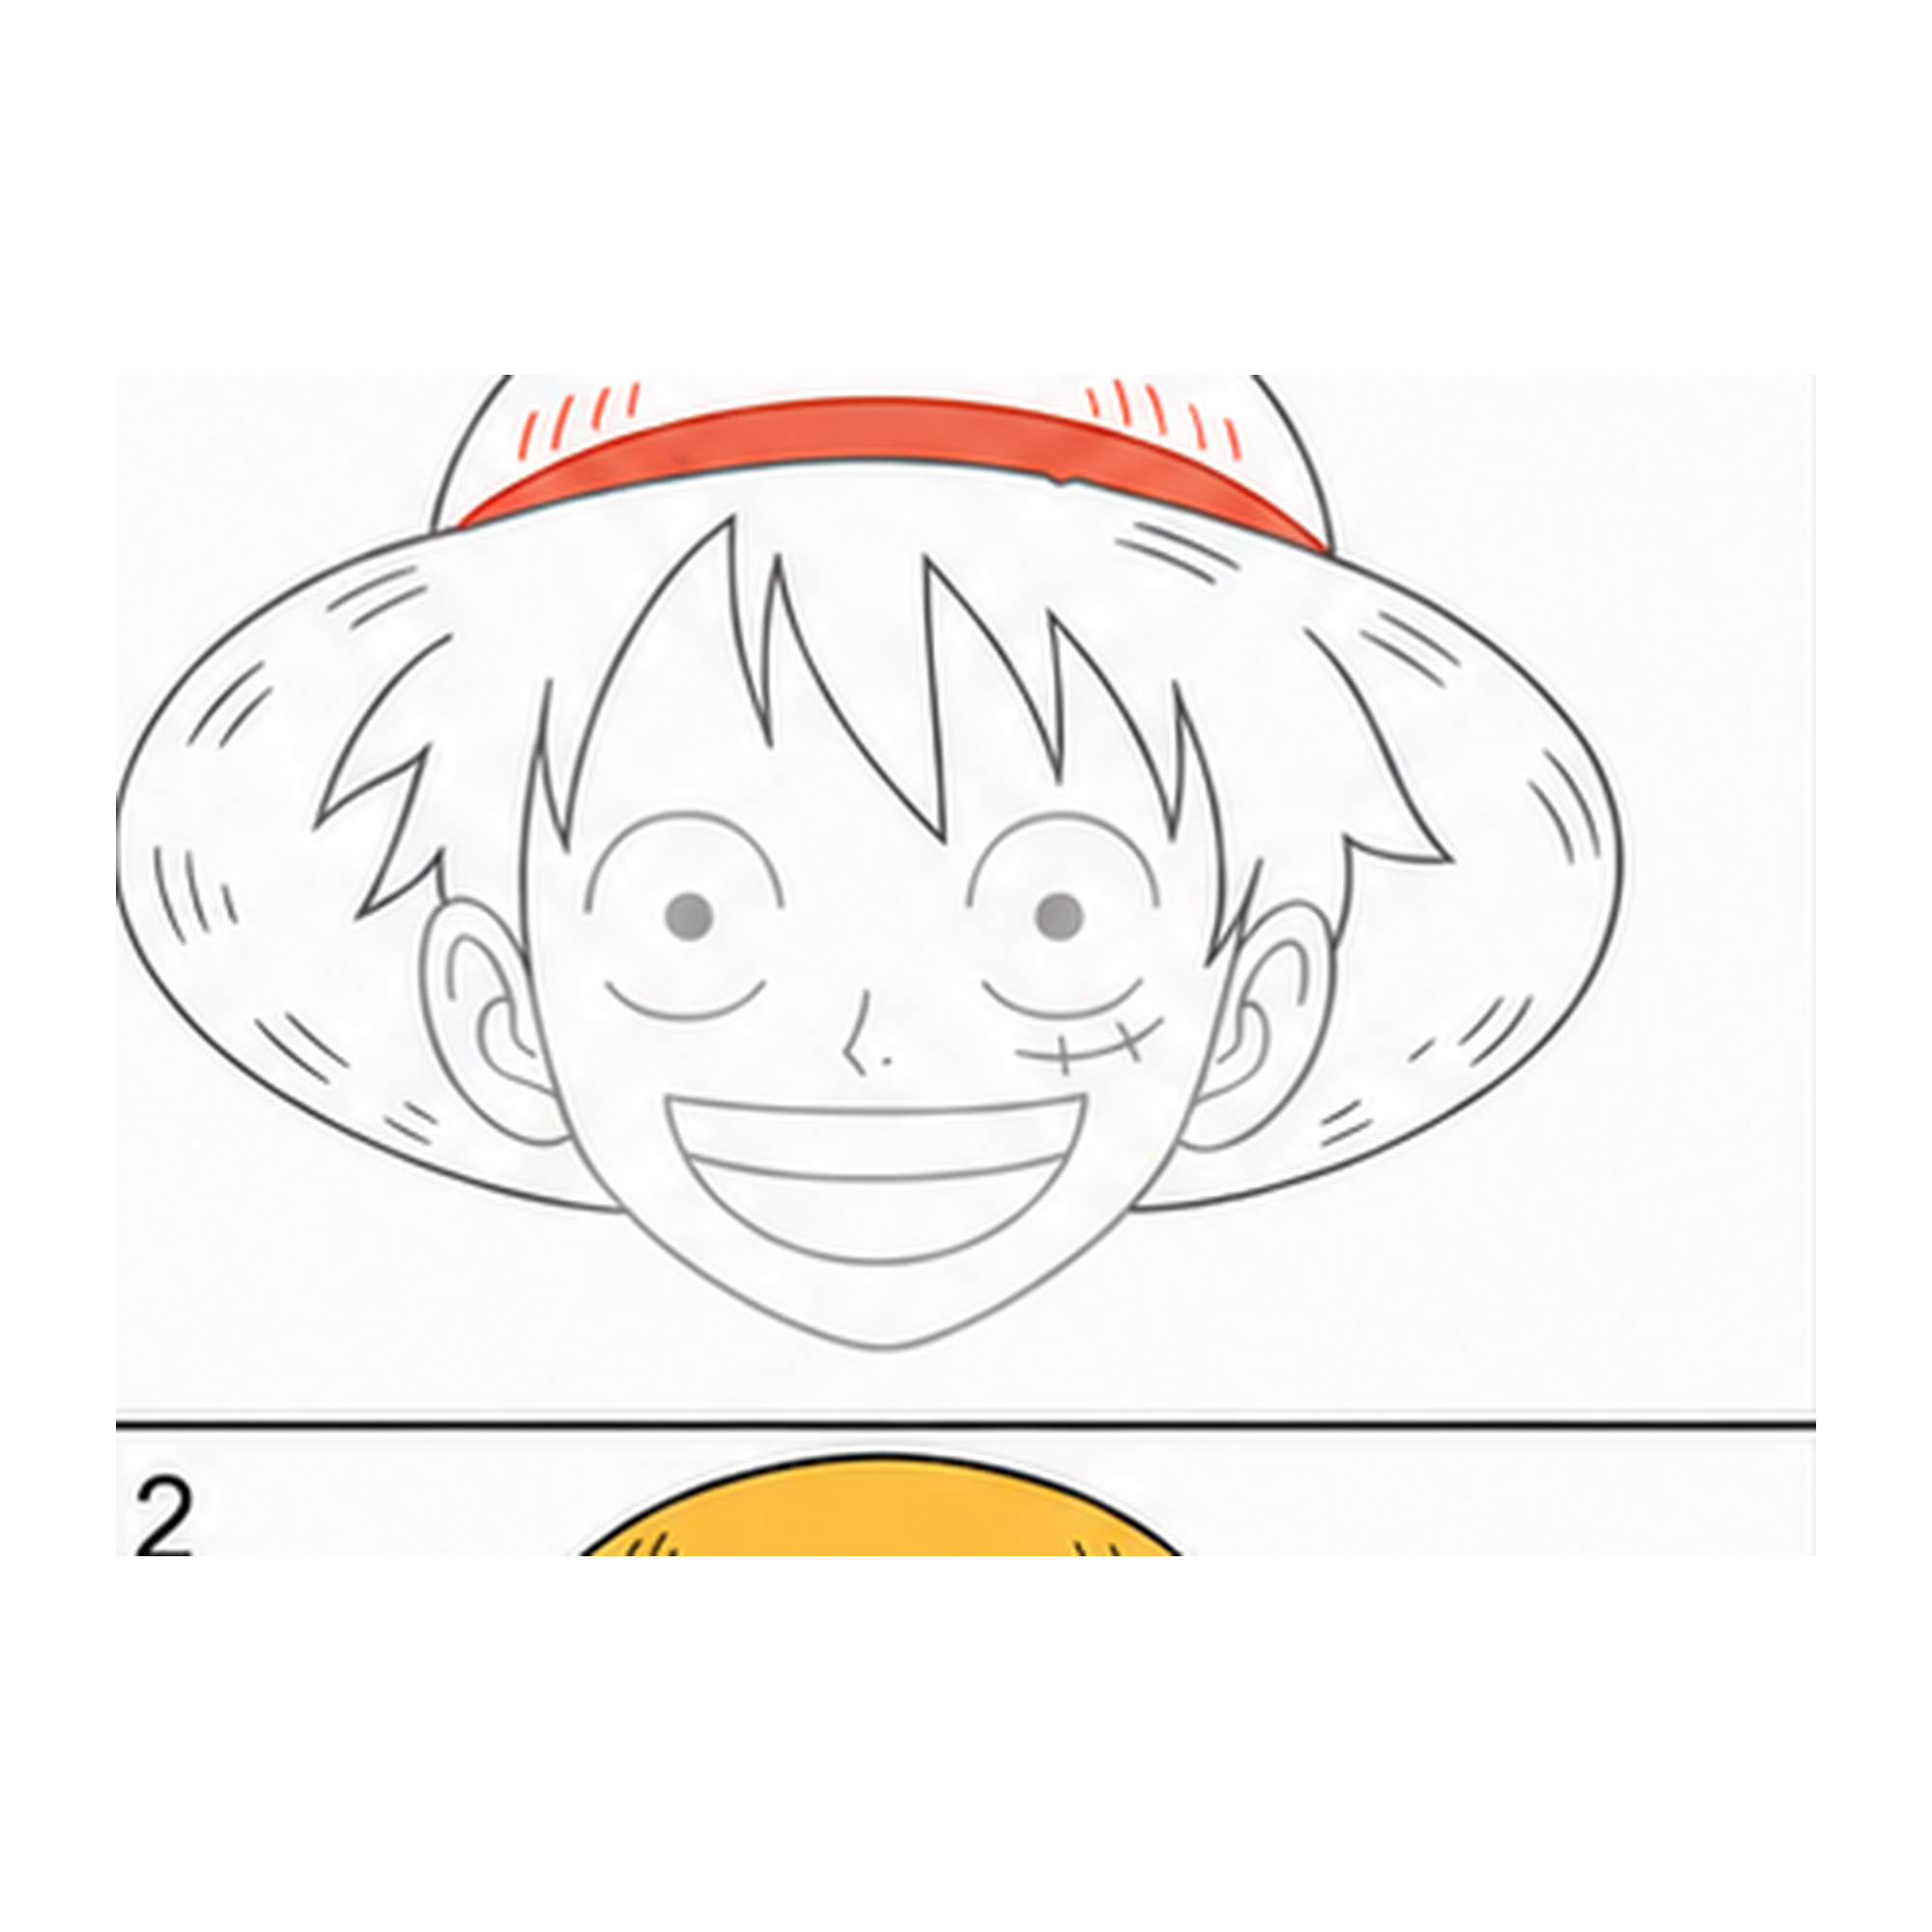
Add the hat band
Draw the band around the crown and add a few extra woven seam marks.
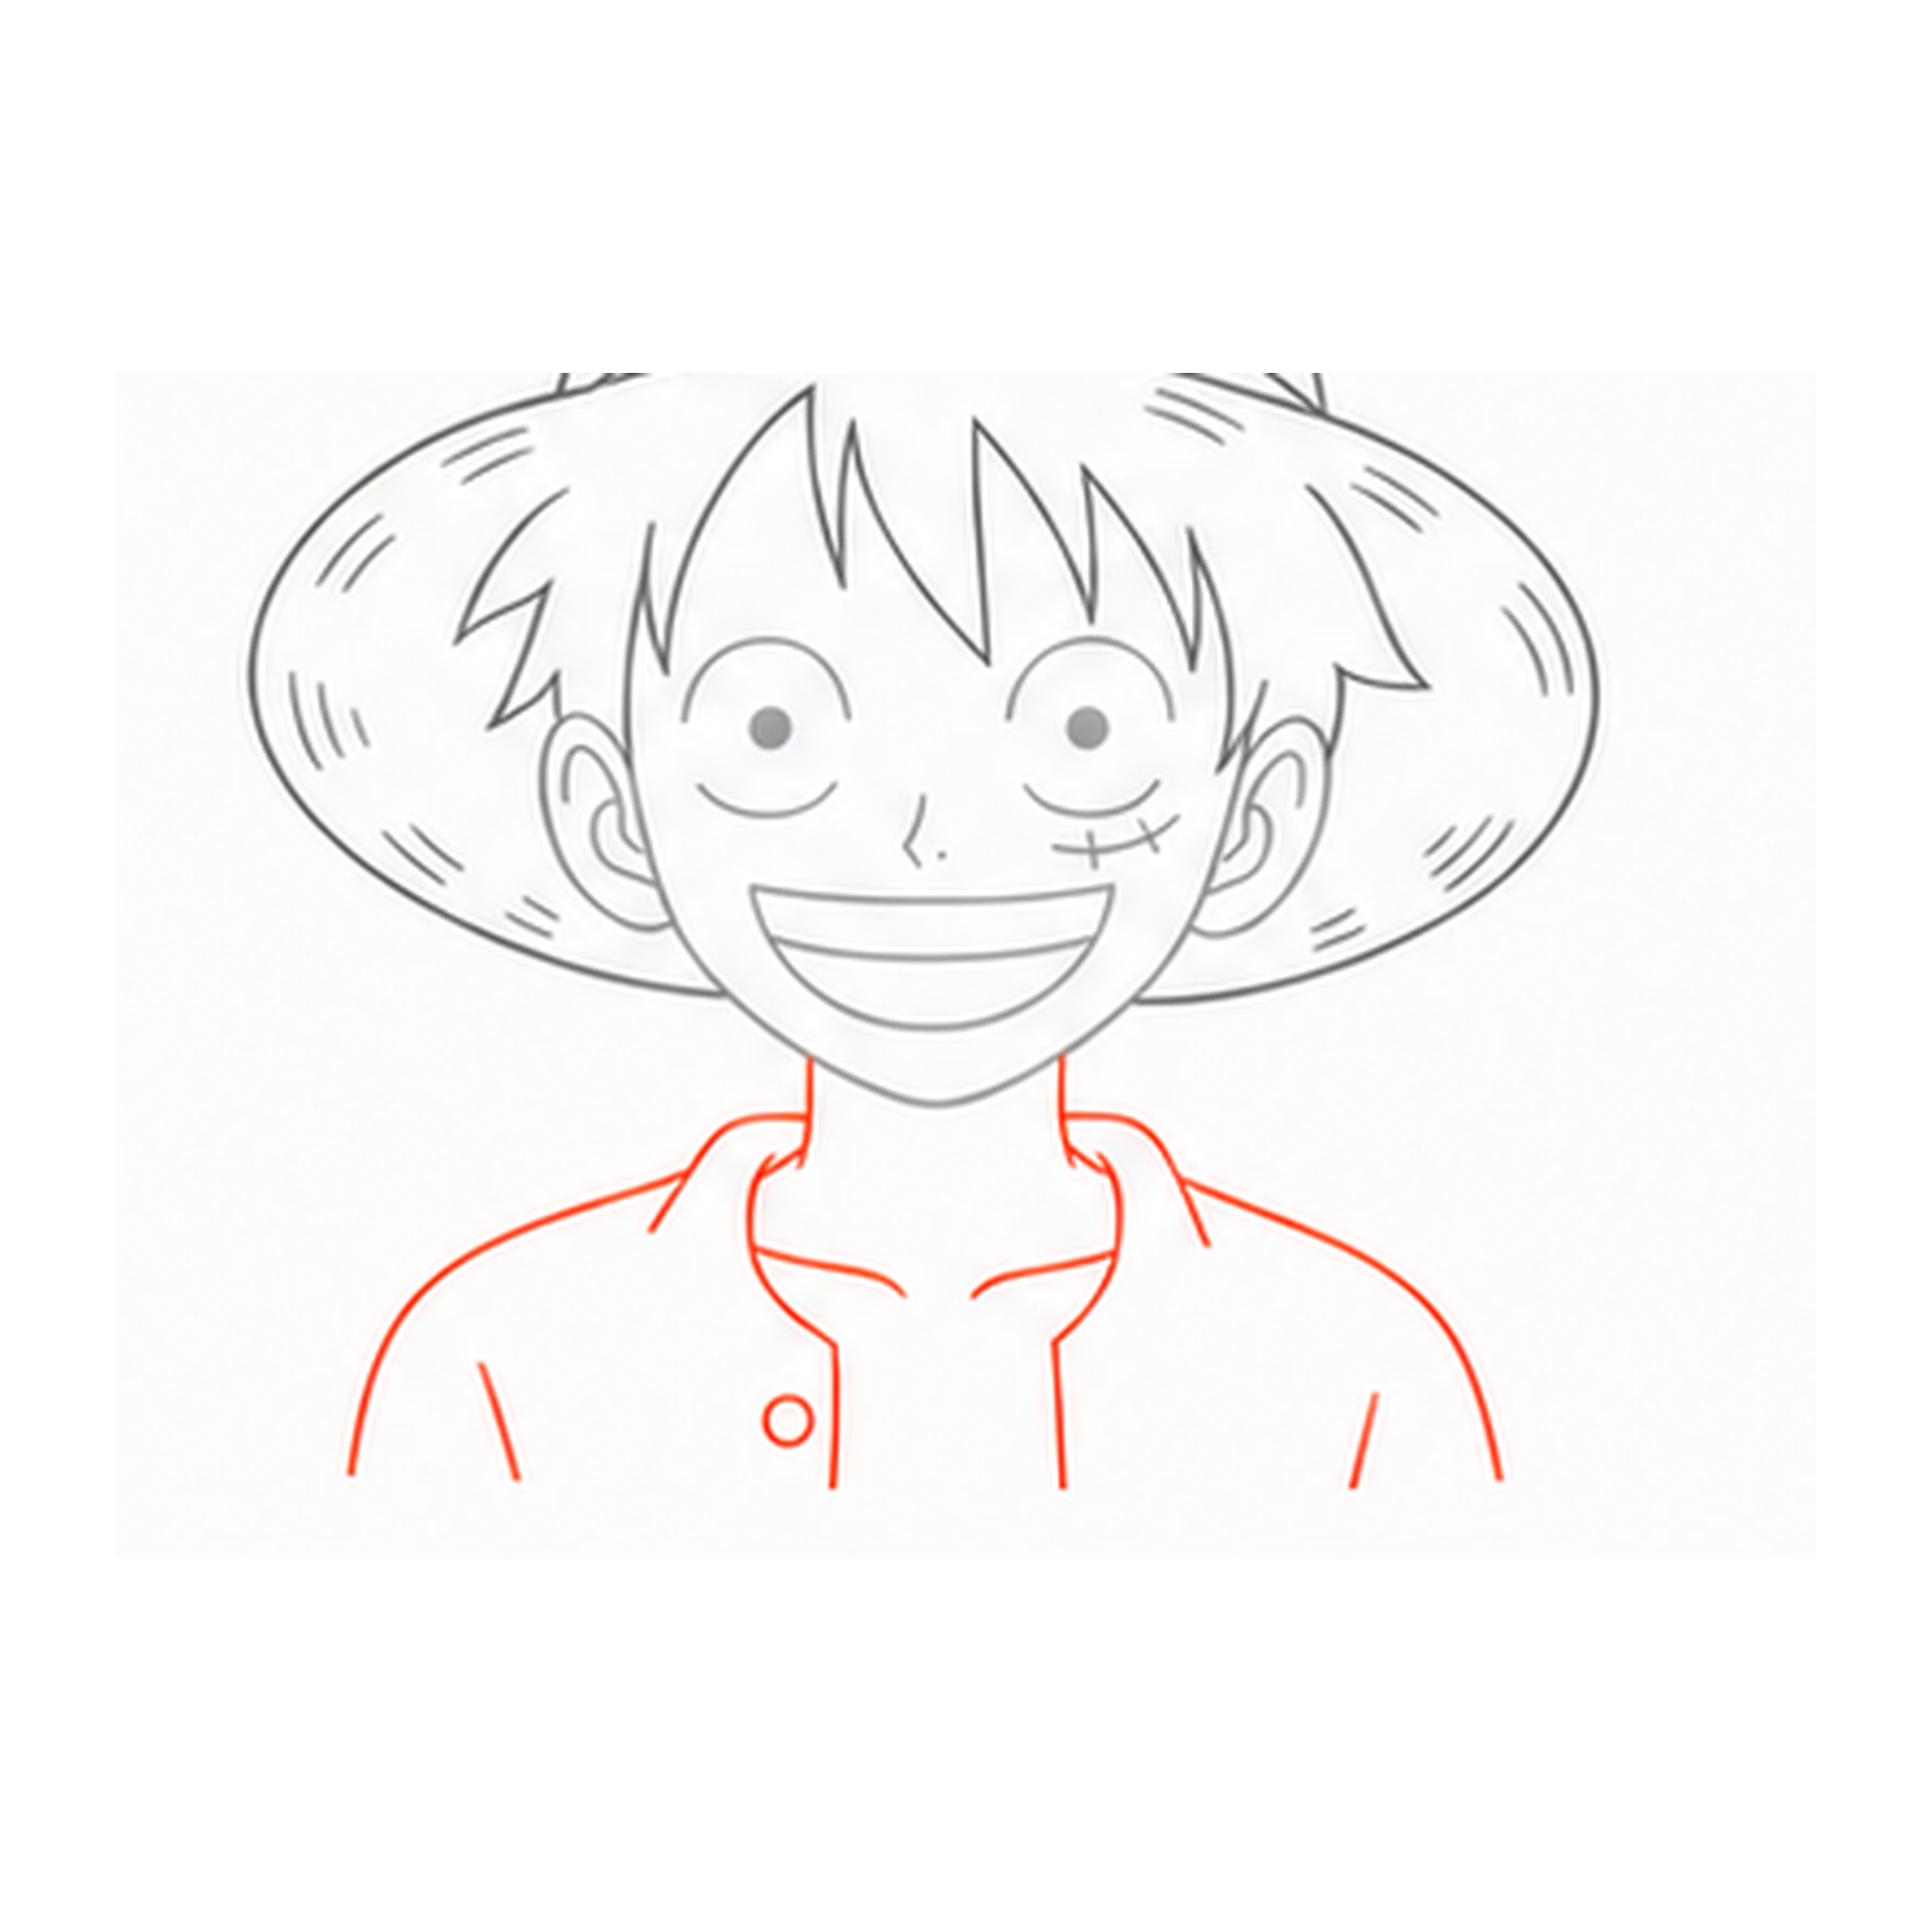
Draw the neck and shirt
Add the short neck, open shirt collar, button, and rounded shoulders.
What you'll need
Pencil, eraser, paper — then crayons, markers, or colored pencils to finish.
Tip for grown-ups
Let each new coral line stay light until the drawing is done, then trace the final outline in black.
Your Finished How to Draw Luffy: Easy Step-by-Step Tutorial
The completed pencil sketch, then the same drawing colored in.
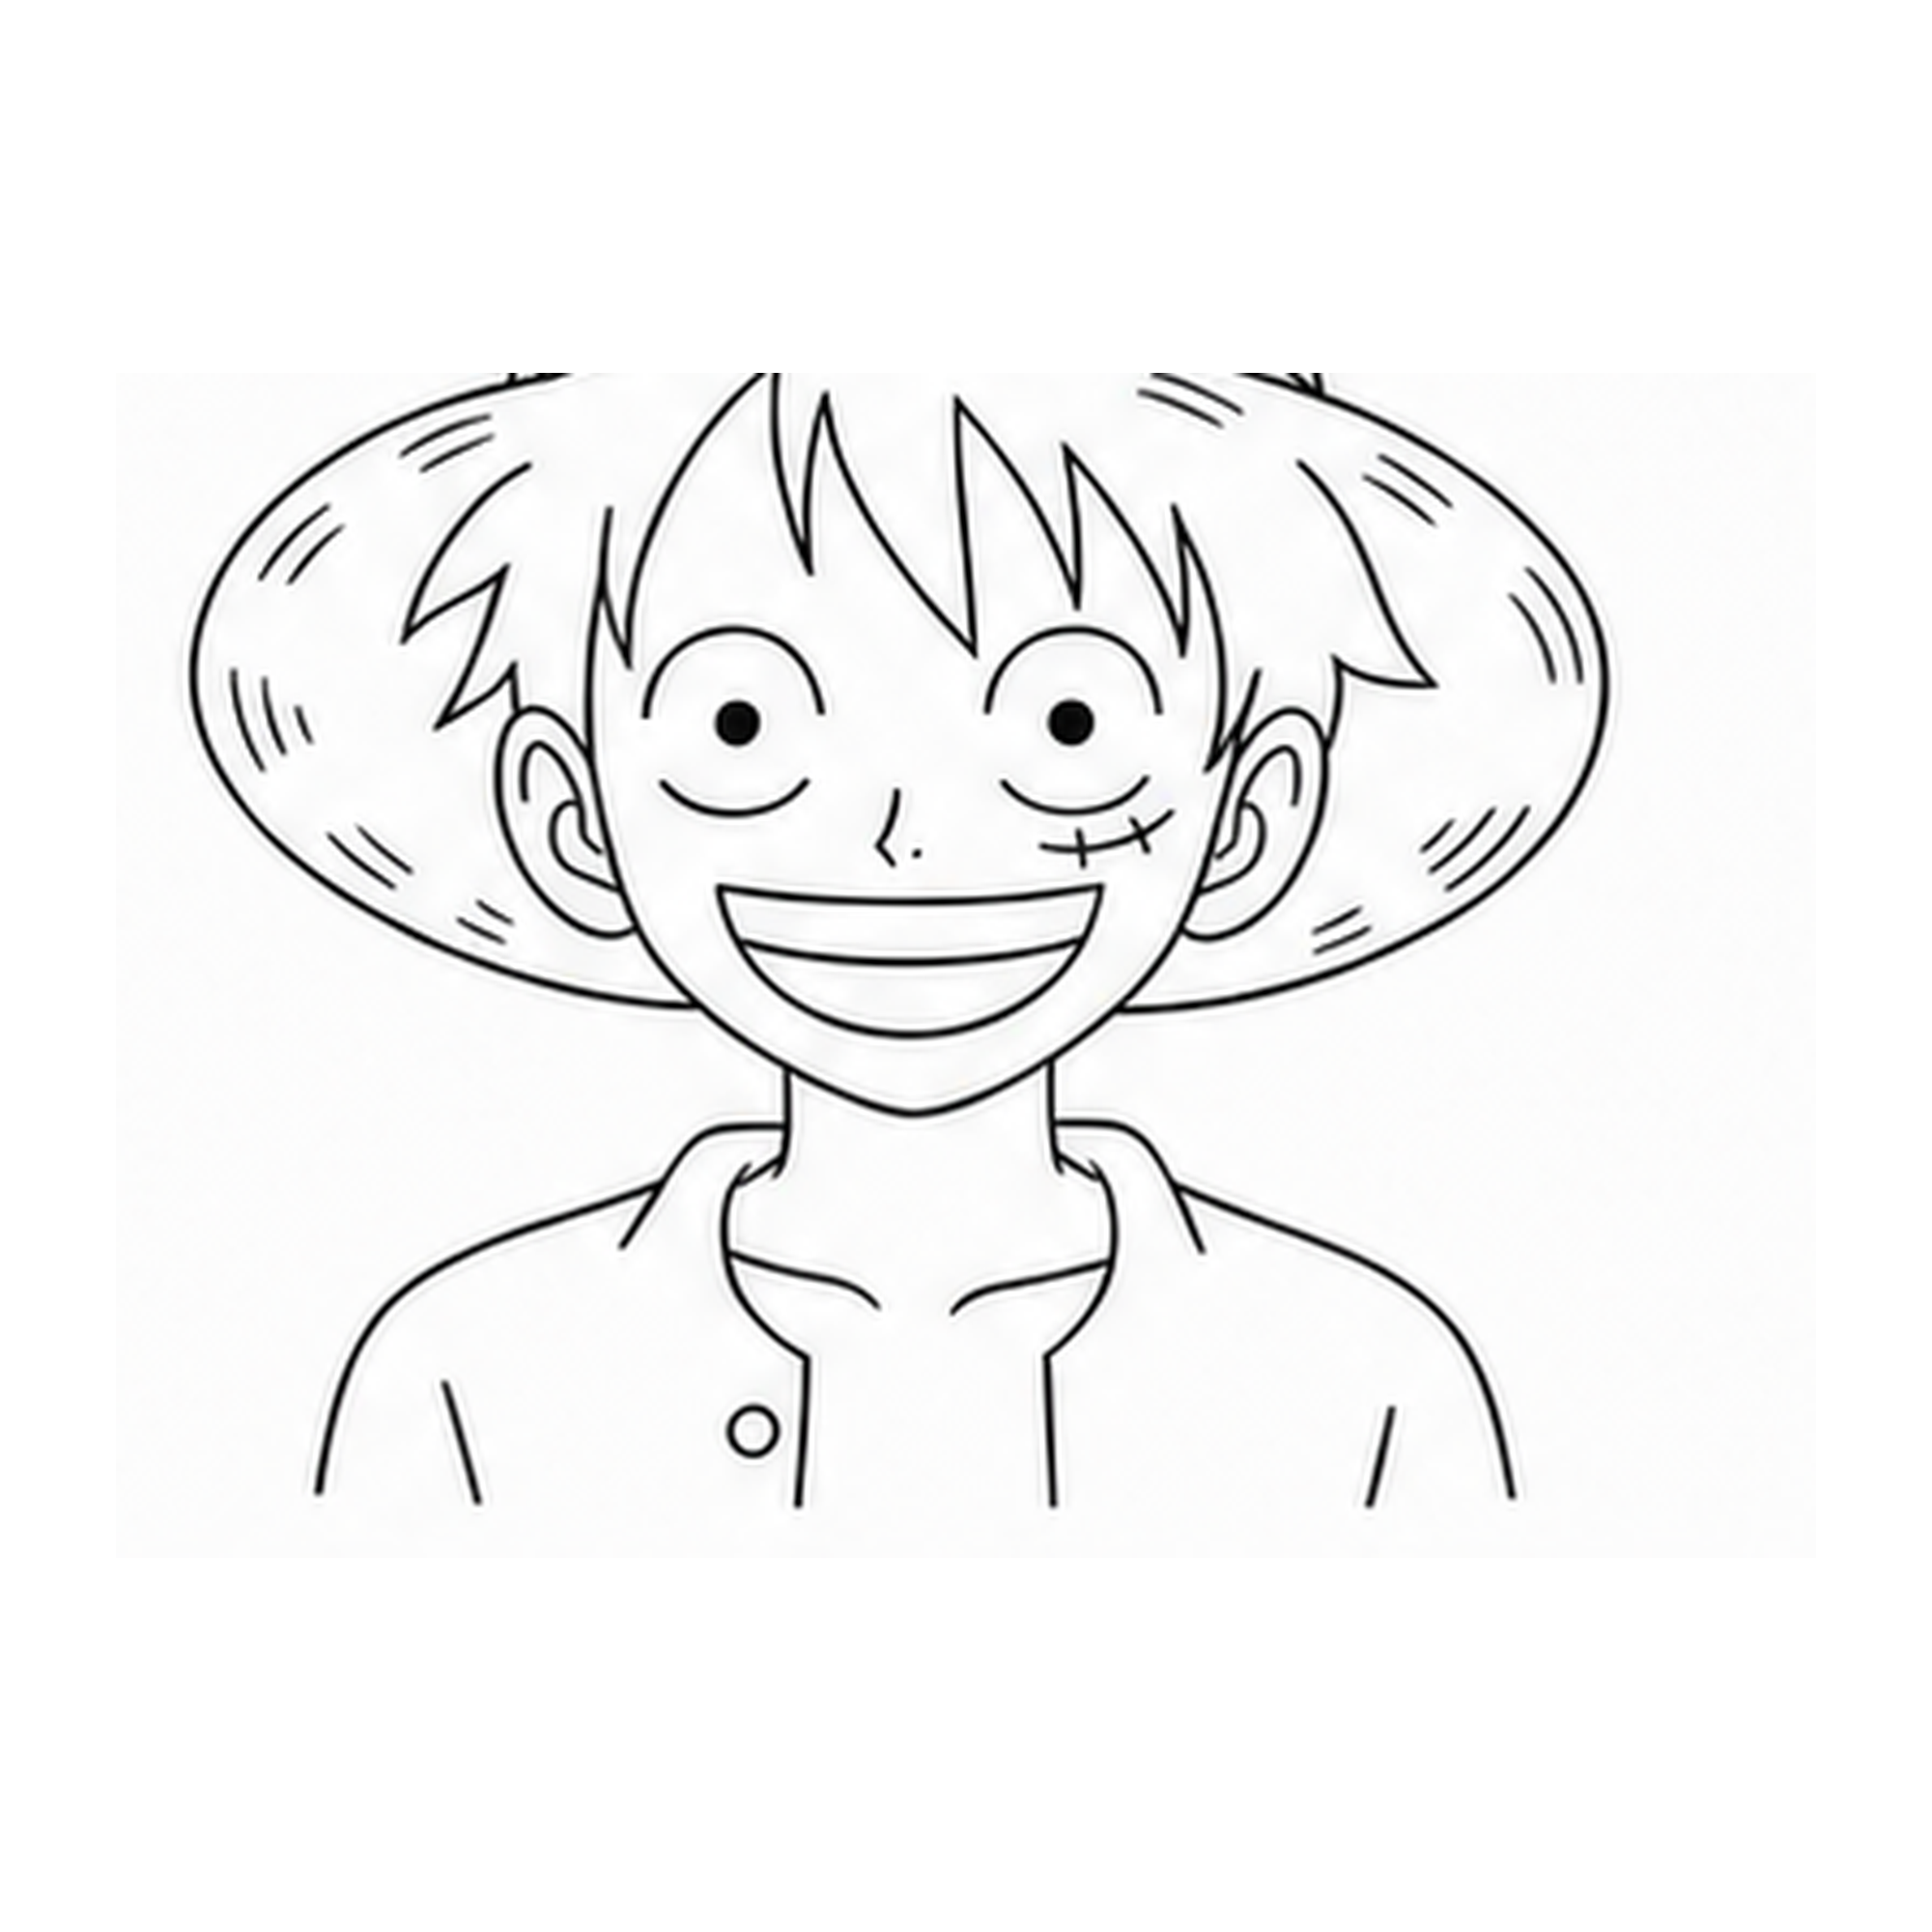
Finished Line Art
Trace over your favorite lines and erase any extra pencil marks.
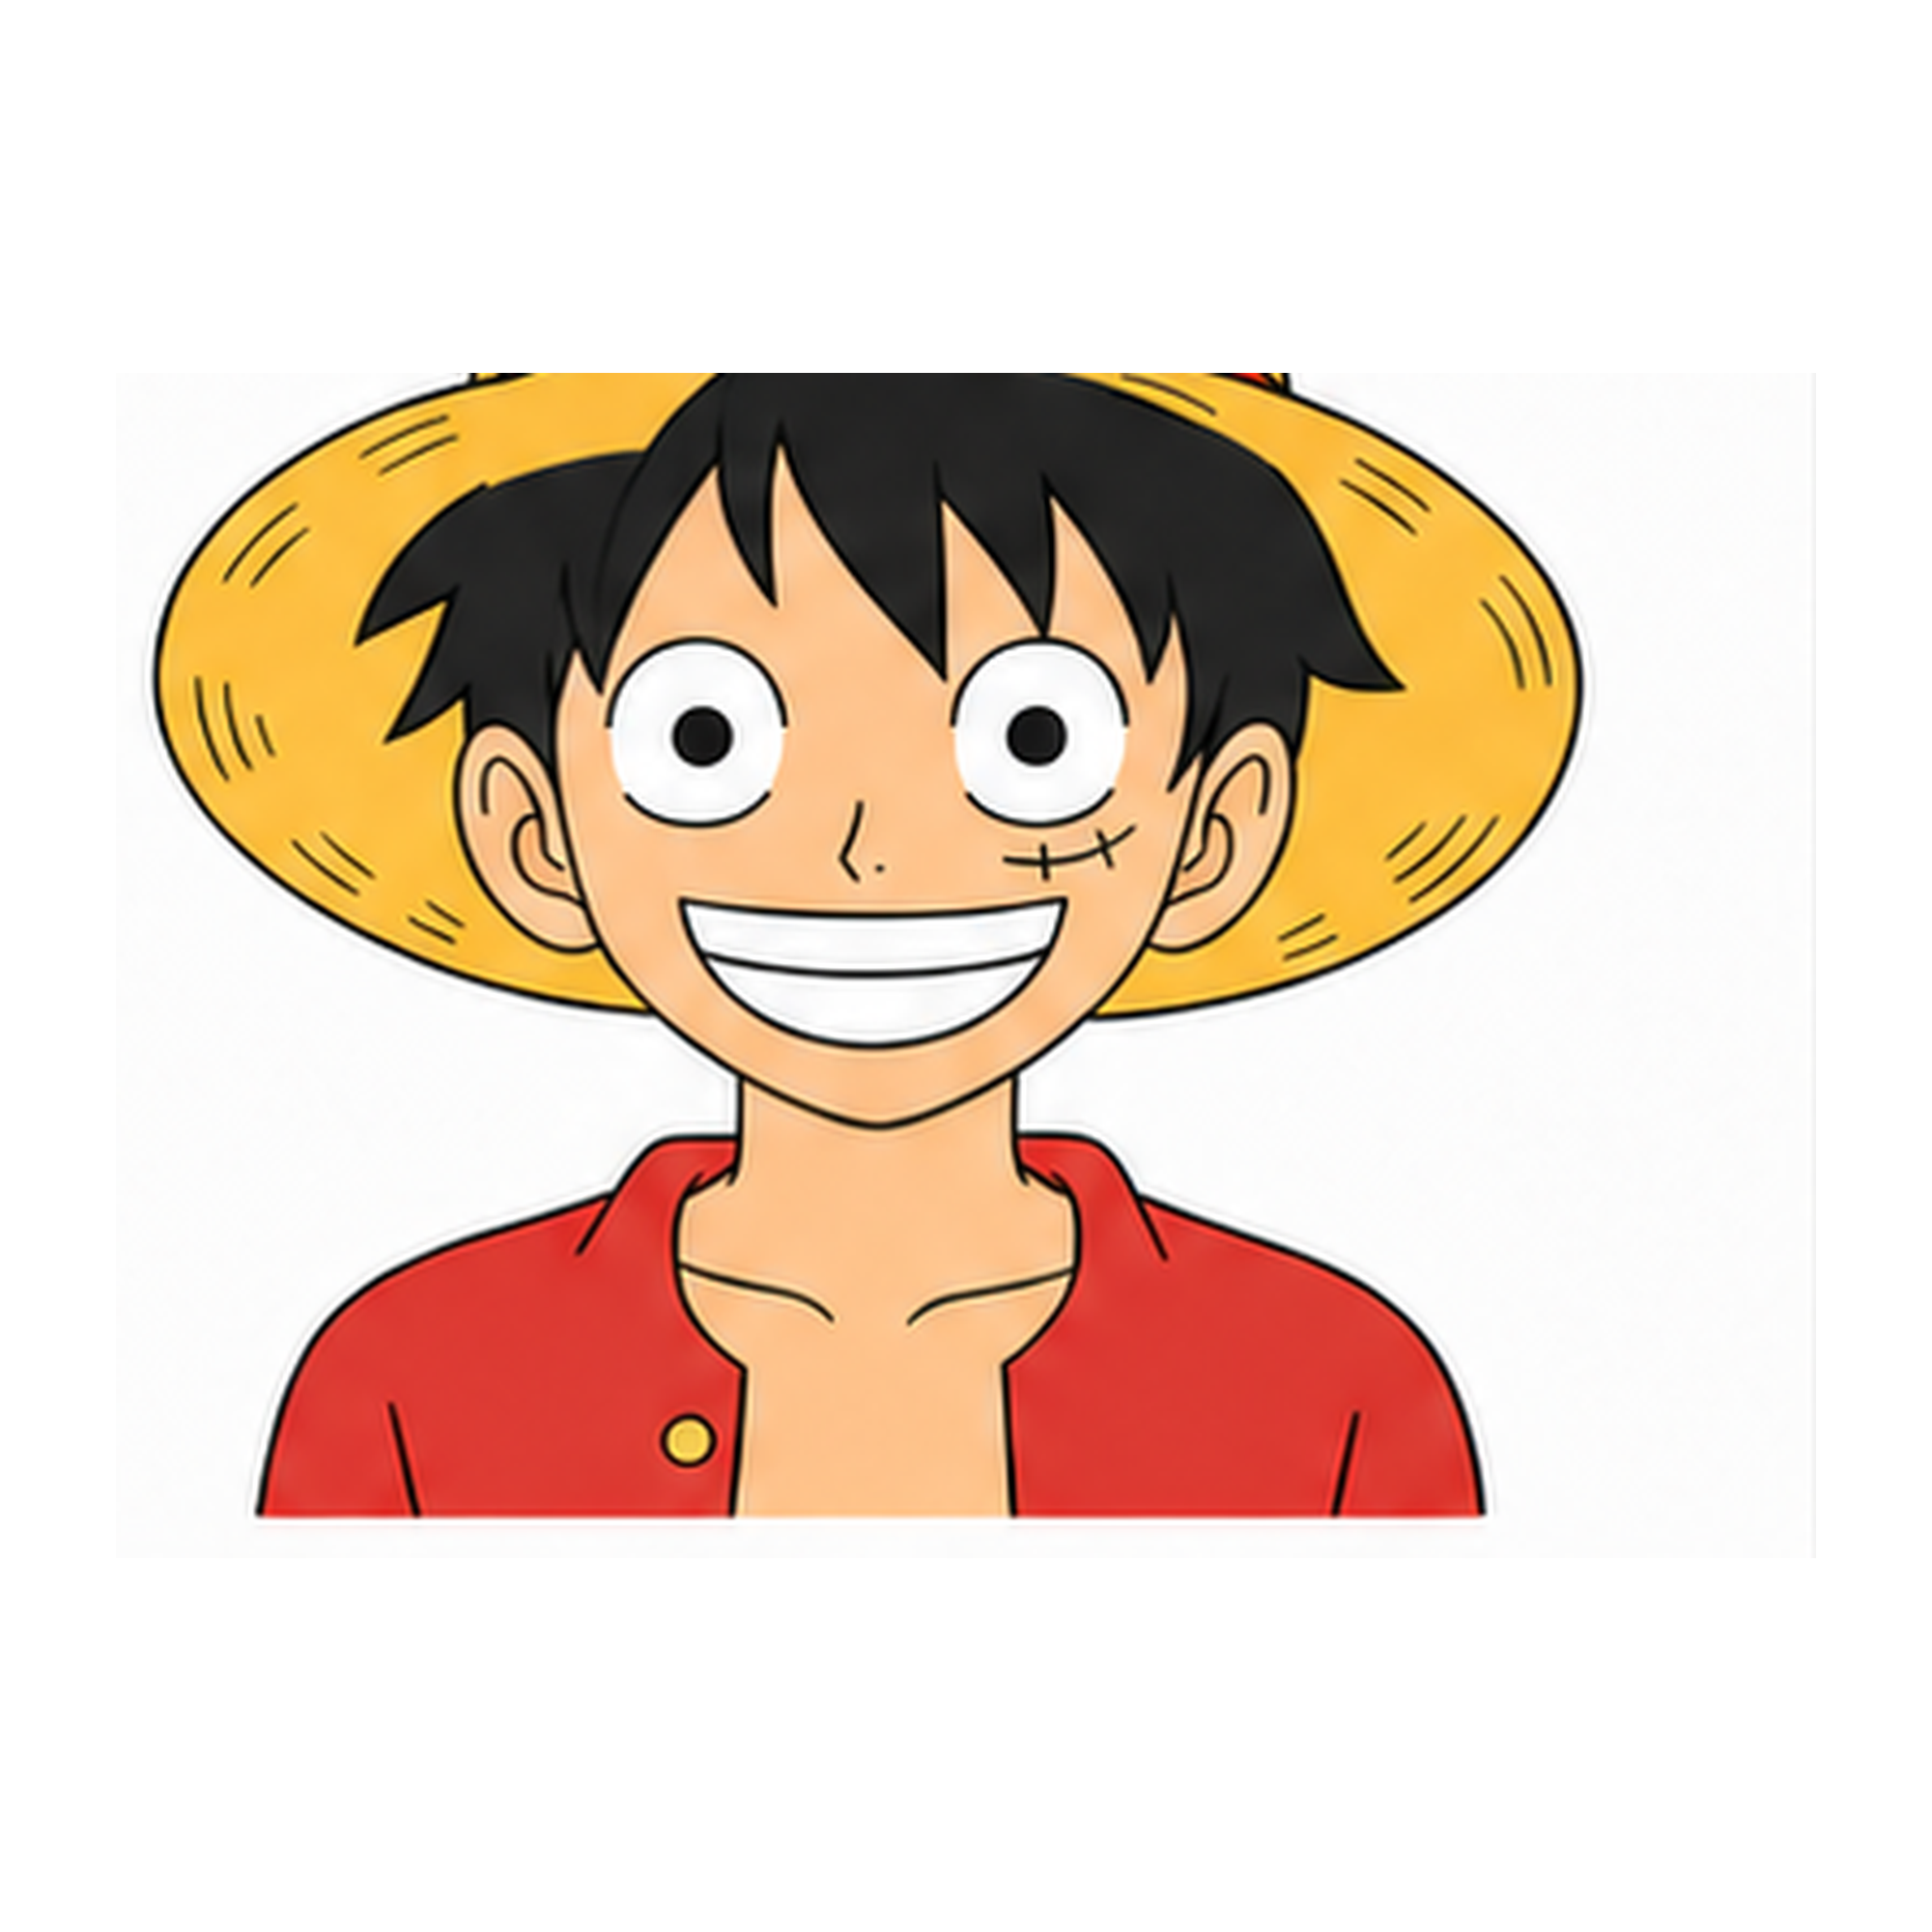
Colored In
Color it any way you like — this is just one idea.
Take it offline
Print all 10 steps on one worksheet and draw along with a pencil, away from the screen.